


Same-day service · island-wide
Ceiling Fan Installation Singapore
★★★★★ 5.0 rating
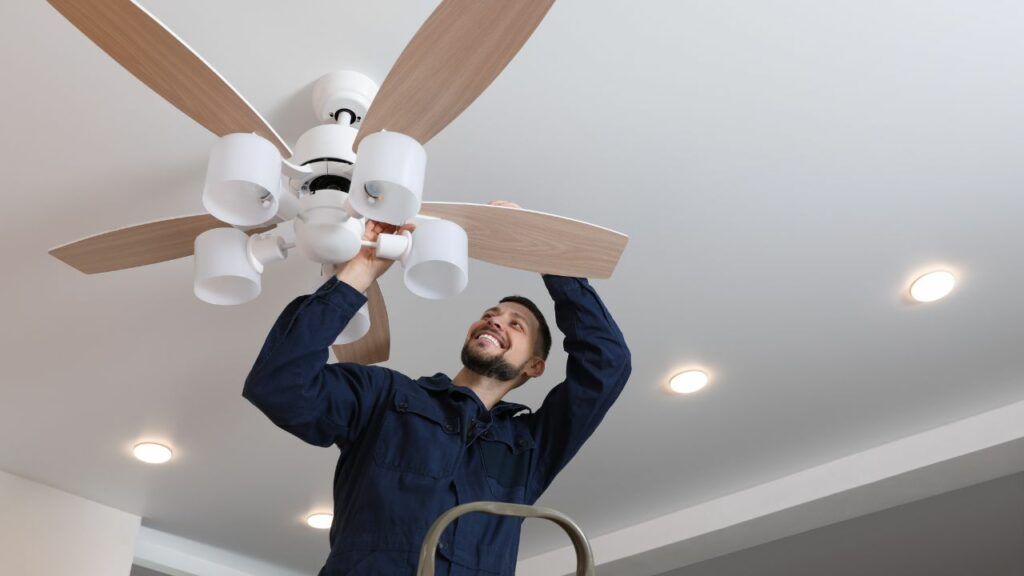
In Singapore's humidity, a ceiling fan adds comfort and style and helps cut energy costs by easing reliance on air-conditioning. Installing one properly involves the right wiring, secure mounting, and balanced blades so it runs safely and smoothly. At Pro Handyman Singapore, our experienced electricians and handymen install all fan types, from standard models to smart, remote-controlled ones.
★★★★★ 5.0 rating
Same-day service
Island-wide
Free quotes via WhatsApp
Our Ceiling Fan Installation Services
At Pro Handyman Singapore, we offer more than exceptional fan installation services, but we also provide professional ceiling fan repair services. We know every home is different, so we offer a range of fan installation options to suit your space and style.
From wall fan installation services to fans with integrated lighting fixtures, we will pay meticulous attention to detail and ensure safe and accurate electrical connections. And for homes with high ceilings, we’ve got the tools and expertise to handle high ceiling fan installations with precision.

Common Types of Ceiling Fans in Singapore
Ceiling Fan Without Lights
A ceiling fan without lights is great for rooms that already have adequate lighting. It focuses purely on air circulation, keeping your space cool and breezy without extra fuss. The big plus is simplicity, as fewer parts mean fewer chances of something breaking. Remember, you’ll need separate lighting, which might not be ideal if you prefer an all-in-one solution. Still, it’s great for minimalist setups or spaces that just need a solid, reliable fan.
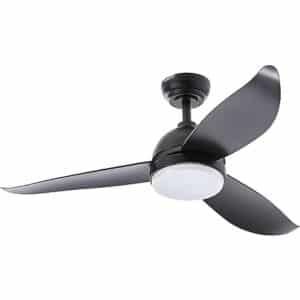
Ceiling Fan with Lighting Kit
This type of fan gives you the best of both worlds, which is cool air and ambient lighting all in one. It’s great for bedrooms or living rooms where you want comfort and brightness in one neat package. The built-in lights save space and look sleek, but the challenge lies in maintenance. Note that replacing bulbs or wiring can be a little trickier since everything’s built into the same unit.
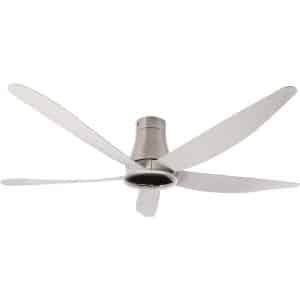
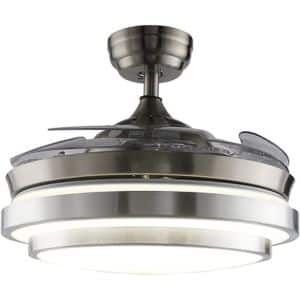
Ceiling Fan with Retractable Blades
These fans are made for those who love innovation and a clean, modern look. When switched off, the blades tuck away, turning the fan into a simple light fixture. It’s ideal for smaller rooms or if you want to have an airy, spacey feel to the room. However, retractable mechanisms need proper care and occasional maintenance to keep them working smoothly.
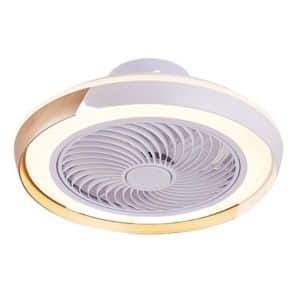
Ceiling Fan with Enclosed Blades
Ceiling fans with enclosed blades are both safe and stylish. The blades are tucked inside a drum-like frame, which makes them great for families with kids or smaller spaces where safety is a concern. They also tend to collect less dust and are easier to clean. However, airflow can be slightly less powerful compared to open-blade fans, but for safety, quiet operation, and sleek design, this type of fan is a smart and reliable choice.
Key Considerations for Ceiling Fan Installation
DIY vs Professional Installation
Installing a ceiling fan might seem like an easy DIY project, but it can get tricky fast, especially when dealing with wiring, balance, and mounting on different ceiling types. A small mistake can lead to wobbly blades, faulty wiring, or even safety hazards. That’s why hiring professionals is often the smarter and safer choice.
They’ll know how to handle electrical connections properly, ensure the fan is mounted securely, and balance the blades for smooth, quiet operation. Professionals also bring the right tools and experience to manage tricky situations, such as high ceilings or false ceilings. While DIY might save a few dollars upfront, professional installation guarantees peace of mind, safety, and lasting performance. In the end, you’ll spend less time sweating over screws and more time enjoying a perfectly installed fan that runs quietly, efficiently, and safely.
Choosing the Right Fan
Picking the right ceiling fan goes beyond just looks. Consider the size of your room, as larger spaces need fans with longer blades for better airflow. Check your ceiling height too, as low ceilings work best with flush-mounted designs. For energy efficiency, look for fans with DC motors and LED lights. Always choose a style that complements your room’s décor while keeping comfort and function in mind.
Outdoor Installations
Outdoor ceiling fans are great for patios and balconies, but Singapore’s humid and rainy weather can be tough on them. Always choose fans rated for outdoor use, as these are designed to resist moisture, rust, and corrosion. Ensure the installation area has proper wiring and waterproof fittings. For safety and durability, professional installation is highly recommended. With the right setup, your outdoor fan can handle the heat and humidity while still keeping your air flowing and fresh.
Benefits of Ceiling Fans in Singapore

Energy Efficiency
Ceiling fans are far more energy efficient than air conditioners. While an aircon can use about 1,000 watts per hour, a ceiling fan typically consumes only 50 to 75 watts. That means you can run multiple fans for the same cost as a single air conditioner. Fans keep air circulating and help you feel cooler without drastically lowering the temperature, making them a smart and energy-saving choice for Singapore’s warm climate.
reliable
Ceiling fans are one of the most reliable cooling options available. They’re simpler to install, require minimal maintenance, and cost only a few dollars a month to operate. Unlike air conditioners, they don’t need gas refills or complex servicing. Over time, that’s a big saving on your electricity bill.
Environmentally Friendlier
Using ceiling fans instead of air conditioning helps reduce electricity use, which means lower carbon emissions. Since fans don’t rely on refrigerants that harm the environment, they’re a greener way to stay cool, and the energy consumed is WAY lower.
Natural Airflow
Ceiling fans create natural, continuous airflow that helps your body cool itself more efficiently. Unlike cold air from an air conditioner, fan breezes don’t shock your system or cause dryness. This gentle circulation also improves indoor air quality, keeping rooms feeling fresh and comfortable. It’s a healthier, more natural way to beat Singapore’s heat.
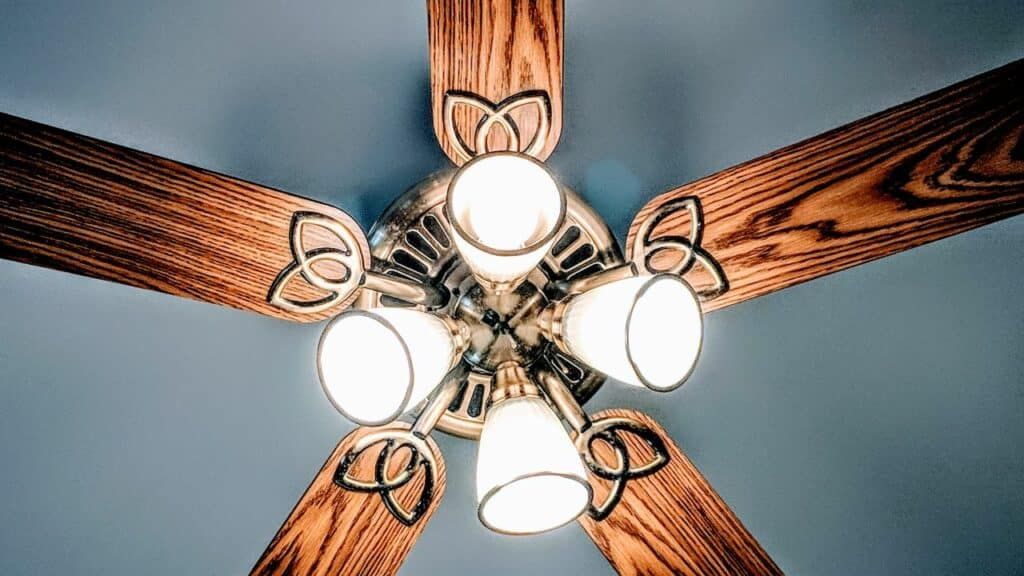
Enhances Decor
Ceiling fans aren’t just practical, they also look great! With so many designs available, from sleek modern models to elegant wooden finishes, they can easily complement your interior style. A well-chosen fan can act as a subtle centrepiece that ties your room together while keeping it cool. A stylish fan is one of the many ways you can add flair to your space.
Kinder to Skin
Ceiling fans keep you cool without drying out your skin like air conditioning often does. They circulate air naturally, maintaining humidity levels instead of stripping away moisture. That means no more waking up with dry eyes, chapped lips, or flaky skin. Fans are ideal for people with sensitive skin or allergies, as they offer a gentle breeze instead of artificially dry air.
Our Ceiling Fan Installation Process
Step 1: Assess
We start with a quick chat and a look at your room. We confirm the fan location, ceiling type, switch point, and height. If needed, we suggest a downrod length and check for obstacles like beams or sprinklers. We also test the power supply and plan the cable route.
Step 2: Prepare the Area
We move light furniture aside, cover floors, and set up safe ladders. Power is switched off at the breaker. We unbox the fan, verify all parts, and sort hardware so nothing goes missing. For false ceilings, we locate supports and mark anchor points. A tidy, protected workspace keeps dust low, avoids scratches, and helps us work faster and safer.
Step 3: Install Mounting Bracket
The bracket is the key to a safe fan. We fix it to a solid support or joist with suitable anchors, then double check level and torque. For false ceilings, we use proper support plates or create a new support if needed. We add a rubber pad where helpful to reduce vibration and noise.
Step 4: Wire and Hang the Fan
We assemble the motor housing, then make the electrical connections with proper terminals and insulation. For fans with lights or remotes, we install the receiver neatly in the canopy. We hang the fan on the hook, tuck cables cleanly, and secure the canopy. All connections are checked, and the breaker is restored briefly for a quick live test.
Step 5: Blades, Balancing, and Testing
Blades are fitted carefully, screws tightened to the right torque, and clearances checked. We power on to test wobble, noise, and airflow. If needed, we fine-tune using a balancing kit and adjust light operation or remote pairing. The goal is smooth, quiet spinning with strong airflow and zero rattles.
Step 6: Clean Up
We remove packaging, wipe fingerprints, and vacuum the work area. Then we walk you through controls, speed settings, direction for seasons, and simple care tips like occasional dusting and safe cleaning. We confirm you are happy with the airflow and noise level, and share warranty or support details. If you are completely happy, we’ll then get out of your hair and let you enjoy cleaner, fresher air.
Why Choose Pro Handyman for Ceiling Fan Installation ?
Trust us to keep your air fresh and moving!
Expertise
Years of hands-on experience on every job, applied to yours.
Prompt and Reliable Service
We work to your schedule and finish the job without delay.
Customer Service
We use quality materials and proven methods for lasting results.
How it works
From WhatsApp to done, same day
1
Tell us the job
WhatsApp a photo or pick your service in the form. Share your property type and what needs doing.
2
Get a free quote
We reply the same day with a clear, upfront quote. No obligation, no surprises.
3
We get it done
Book a slot that suits you. Our vetted handymen arrive on time and tidy up after the work.
FAQ
FAQ for Ceiling Fan Installation
Do I need to prepare anything before the ceiling fan installation?
Not really. Just make sure the area below where the fan will go is clear and easy to access. Move furniture or fragile items out of the way and have the fan and its accessories ready for our team. If you already have an existing light fixture, let us know, and we’ll handle the removal safely.
Can Pro Handyman help me choose the right ceiling fan for my home?
Absolutely! Our team can recommend ceiling fans based on your room size, ceiling height, and style. We’ll help you pick one with the right blade span, motor type, and mounting option for your space. Whether you want a simple model, one with lights, or a remote-controlled design, we’ll guide you toward the perfect choice.
How long does it take to install a ceiling fan?
Most standard ceiling fan installations take about one to two hours. For more complex setups, like high ceilings or fans with integrated lights, it might take a bit longer. Our team works efficiently but are meticulous and will make sure your fan is properly wired, balanced, and running smoothly before we wrap up.
Can Pro Handyman install a ceiling fan with a remote control?
Sure, we can! We install all types of ceiling fans, including those with remote or smart controls. Our team will wire the receiver correctly, test all functions, and show you how to use it.
What is the difference between DC and AC motor ceiling fans?
The main difference is energy efficiency and control. DC motor fans use less power, are quieter, and often come with remote controls and more speed options. AC motor fans are more traditional, using wall switches and slightly more energy. Both work well in Singapore’s climate, but DC fans are great if you want better efficiency and quieter operation.
Reviews
What our customers say
★★★★★ 5.0 rating
I had a great experience with this handyman services company when I needed help assembling and installing new shelves in my home office. The handyman they sent was friendly, efficient, and detail-oriented. The shelves look fantastic, and I will definitely be using their services again for future projects.
I hired this handyman services company to repair some damage to my drywall caused by a plumbing issue. Not only did they fix the drywall perfectly, but they also provided helpful tips on how to prevent future issues. The handyman was polite, tidy, and completed the job in a timely manner.
I recently hired the handyman services company for a variety of home repairs, including fixing a leaky faucet, painting a bedroom, and installing a new ceiling fan. The handyman was punctual, professional, and extremely knowledgeable. I highly recommend their services.
Contact Us for a Quote Now
Contact us at Pro Handyman for all your repair and maintenance needs in Singapore.
Same-day response
Free quotes via WhatsApp
★★★★★ 5.0 rating
Service Location in Singapore
We offers premium handyman services throughout Singapore. We serve all areas of the island, including Pasir Ris, Bedok, Novena, Jurong, Orchard, and Sentosa, ensuring consistent quality and reliability in every service we provide.