Last Updated on June 4, 2023 by Pro Handyman Editorial Team
Unmasking the Mysteries of Screws
Understanding screws is fundamental in any DIY project. There are three primary types you will encounter:
- Slot Screws (-): These have a singular slot that requires a flathead screwdriver.
- Phillips Screws (+): Also known as crosshead screws, their heads resemble plus signs, requiring a Phillips head screwdriver.
- Pozidriv Screws: Not as universally recognized, Pozidriv screws feature an additional cross on the Phillips screw design, requiring a Pozidriv screwdriver.
Always ensure you use the correct screwdriver for each screw to prevent shearing—those tiny metal fragments hinting at a damaged screw head and screwdriver.
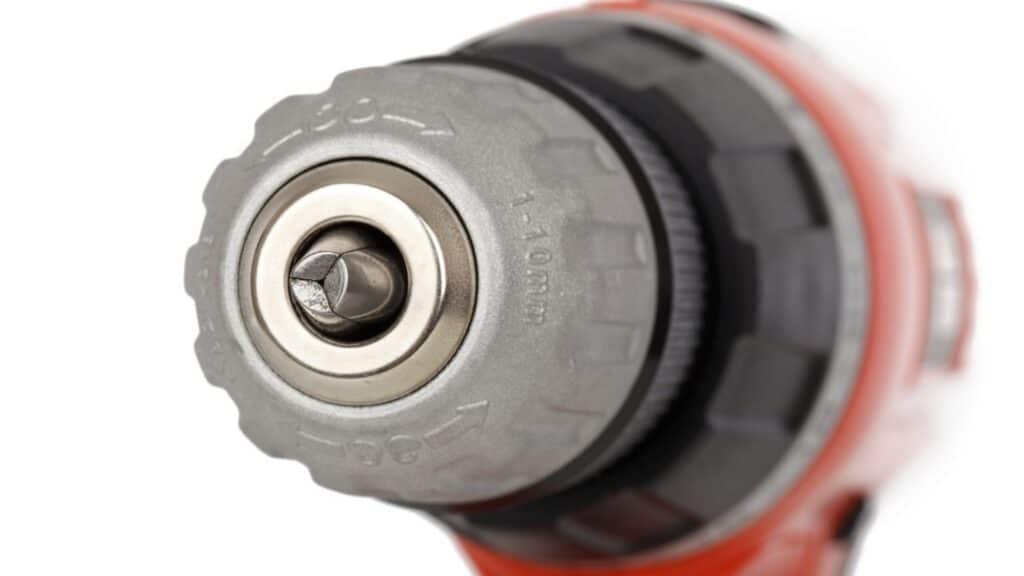
Unveiling the Power of Screwdriver Bits
Screwdriver bits allow you to hasten your work significantly. Available for ratchet screwdrivers, electric combi-drills, or cordless screwdrivers, these functional components offer a quick, efficient way to drive screws. Opt for magnetic versions for effortless fixing into compatible devices.
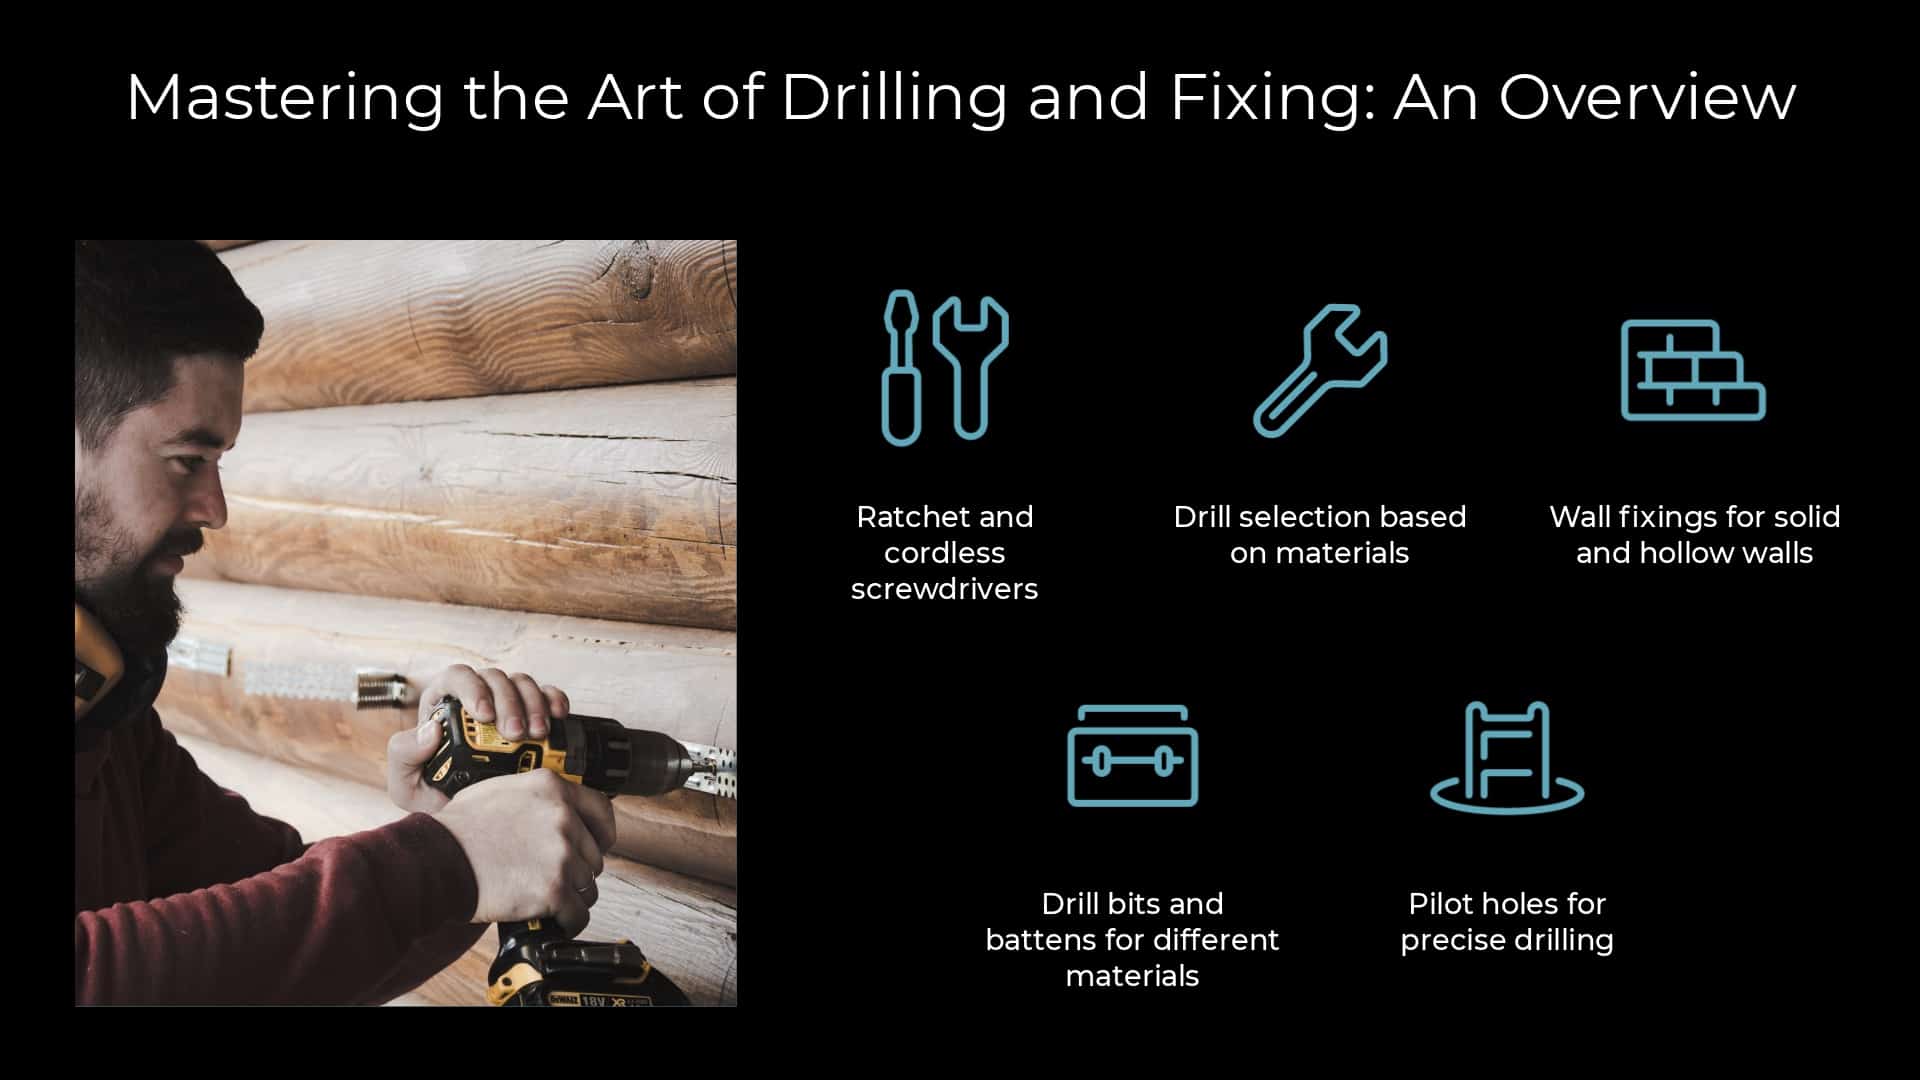
Illuminating the Utility of Ratchet and Cordless Screwdrivers
A ratchet screwdriver can be your best friend for any extensive project, saving you from ‘palm fatigue.’ It offers a unidirectional rotation mechanism, allowing continuous driving without straining your hand. Consider an offset ratchet screwdriver for cramped spaces, which operates at a 90-degree angle.
On the other hand, cordless screwdrivers offer portability and convenience, especially for lighter tasks. Remember, using a cordless screwdriver demands some precision—apply enough pressure and ensure the correct bit is used for the job.
Revealing the Secrets of Drilling
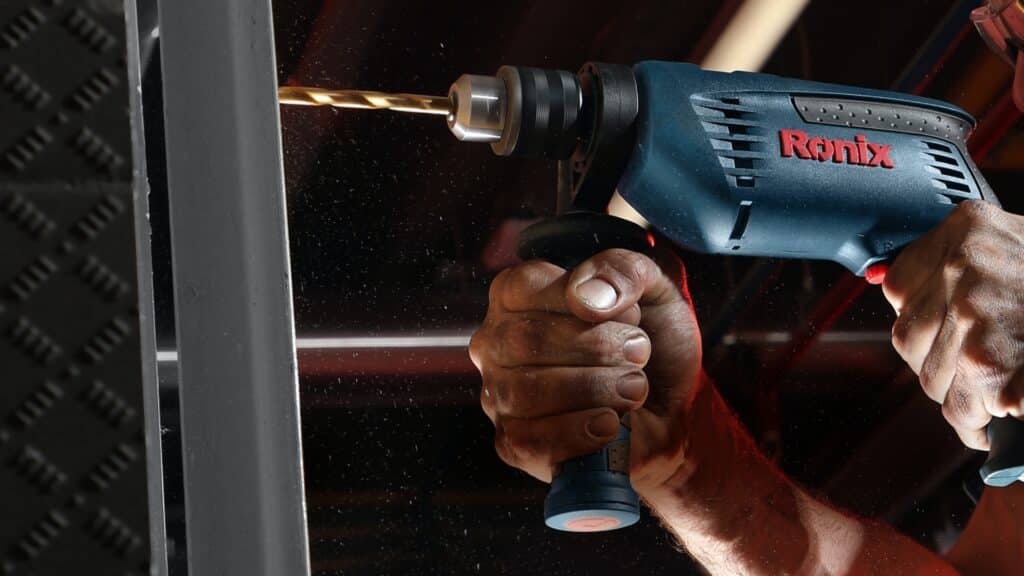
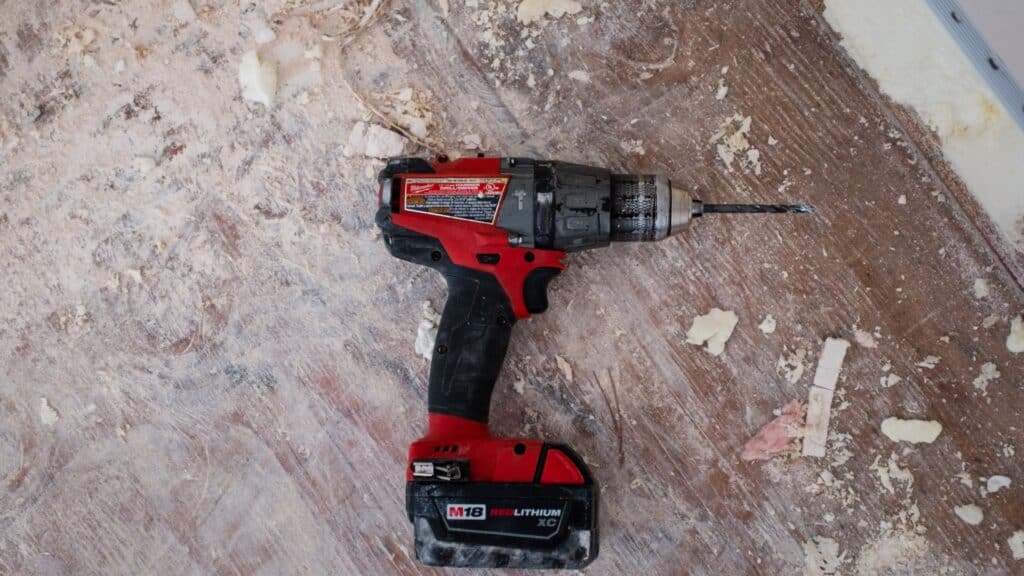
Possessing a drill is a must for any DIY enthusiast. With the advancement of technology, the cordless drill has emerged as a reliable, user-friendly option. An 18V lithium battery drill is a sound choice, offering good power and battery life.
In addition, always take into account the materials you will be drilling. For example, consider a hammer drill for an additional power for solid surfaces like brick.
Navigating through Different Walls and Wall Fixings
Whether your Wall is solid (brick, concrete, or stone) or hollow (stud wall with plasterboard), suitable wall fixings, also known as Rawlplugs, are crucial. They provide grip and stability for your screws when drilling into hard surfaces.
- Solid Walls: These typically require a bullet-shaped wall fixing.
- Hollow Walls require a winged wall fixing, known as a plasterboard plug.
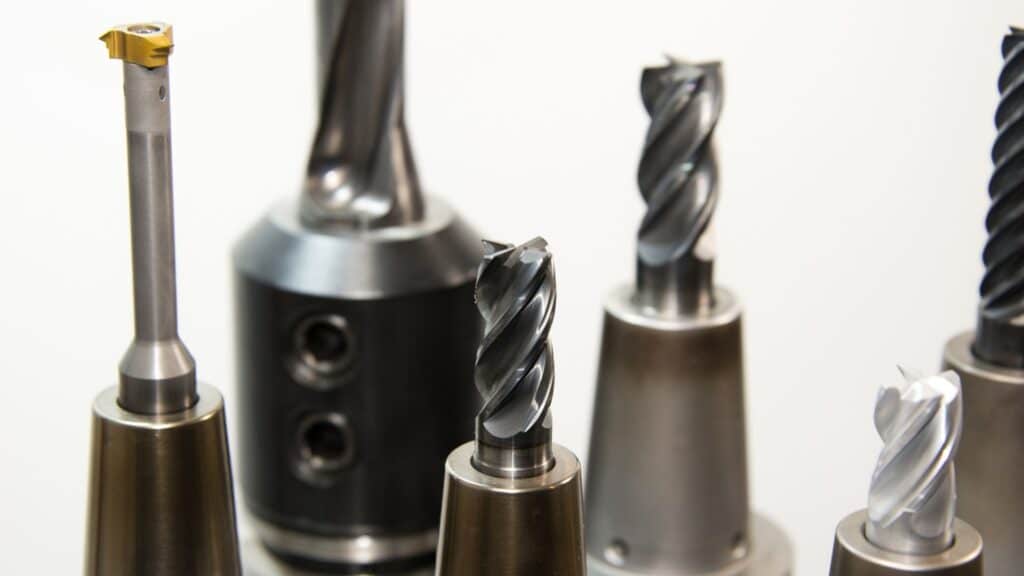
Demystifying Drill Bits and Battens
Choosing the correct drill bit is as important as selecting the right screw. Different materials require different drill bits—a masonry bit for solid walls, a tile bit for tiles, and a twist or wood bit for wood.
Battens, on the other hand, are helpful for mounting heavy objects on hollow walls. A strip of wood, either screwed or glued to the Wall, can distribute the load, providing a secure foundation for your installation.
Unraveling the Concept of Pilot Holes
A pilot hole is a small guide hole drilled into the material, used to guide the screw and prevent the fabric from splitting or cracking. It’s beneficial when working with hard materials or wood that tend to break.
Use a punch to make a slight indentation at the drilling point for precise drilling, thus preventing your drill bit from slipping.
Mastering the Techniques of Drilling and Fixing
Here are some steps to drilling and fixing properly:
- Mark the Spot: Use a pencil to mark where you want to drill.
- Punch the Mark: Punch to create a small dent in your marking. This gives your drill a place to grip and prevents slipping.
- Select the Correct Drill Bit: Choose a drill bit that matches the size of the hole you want to create or the size of the screw you use.
- Drill the Pilot Hole: Hold the drill perpendicular to the surface and slowly drill a pilot hole at your marked spot.
- Drill the Final Hole: Once the pilot hole is prepared, you can drill the final hole. This should be a smooth process if the pilot hole is correctly created.
- Insert the Wall Fixing: If drilling into a solid wall, insert a wall fixing (raw plug) into the hole.
- Drive the Screw: Finally, use the appropriate screwdriver to drive the screw into the hole or Wall fixing. Ensure the screw is tight, but be careful not to overtighten, as this can cause damage.
Nailing the Basics of Safety
Despite its rewarding nature, DIY work can be hazardous if not performed correctly. Here are some safety tips to keep in mind:
- Always wear safety goggles to protect your eyes from flying debris.
- Use gloves to protect your hands.
- Wear a dust mask when drilling into materials that may produce harmful dust.
- Always use the correct tools for the job.
- Keep your workspace clean and tidy to prevent accidents.
- Hire a professional if you are uncomfortable or confident doing a particular task.
Mastering drilling and fixing may be daunting initially, but with a solid understanding of the basics, you’ll soon be equipped to tackle your DIY projects confidently and safely. The reward of creating or repairing with your own two hands is well worth the effort.
Understanding Cordless Power Tools
Power tools have undergone substantial advancements, particularly in terms of their portability. One critical development has been the emergence of cordless power tools, which offer unmatched flexibility and ease of use.
Cordless Screwdrivers
Cordless screwdrivers are an excellent addition to any toolbox, offering convenient and efficient operation. Despite their compact size, these tools pack considerable power and can handle various tasks, from assembling furniture to installing light fixtures.
When operating a cordless screwdriver, ensure you have the correct bit for the screw you’re using and apply adequate pressure while screwing. This tool requires two-handed operation: one on the trigger and the other to exert pressure. Remember, unscrewing needs as much force as screwing.
Cordless Drills
Cordless drills are another indispensable tool for any DIY enthusiast. Modern cordless drills feature lithium batteries and offer ample power for most home improvement tasks. An 18V model, for instance, is a versatile choice for most DIY projects.
When selecting a drill, consider the materials you’ll be drilling into. For example, a hammer drill would be most appropriate for working with more rigid materials, such as brick or concrete.
Drill Depth Gauge
Many drills include a depth gauge, allowing you to drill to a specific depth. This can be handy when you must ensure that all holes are trained to a consistent depth, such as when mounting shelving or hanging picture frames. If your drill doesn’t have a depth gauge, you can use a piece of masking tape on the bit as a makeshift gauge.
How to Drill with Confidence
Drilling may seem intimidating initially, but with some knowledge and practice, you can drill with confidence. Here are some pro tips:
- Safety First: Always wear safety goggles to protect your eyes from potential debris.
- Secure the Drill Bit: Ensure your drill bit is tightly secured in the drill’s chuck.
- Maintain Smooth Motion: When drilling holes, keep the drill moving in and out in one smooth motion. Avoid stopping midway, as this can cause the bit to break.
- Avoid Splintering: To prevent splintering around the hole’s edges, clamp an off-cut of wood underneath and drill into it.
Remember, the secret to successful drilling lies in your patience and consistency, not brute force. Allow the drill to do the work, and you’ll find that even the most demanding drilling tasks become manageable.
Selecting the Right Wall Fixings
Often called Rawlplugs, wall fixings are essential when attaching objects to hard materials such as plasterboard, brick, or concrete. A wall fixing aims to grip and secure your screw, providing a solid anchor in the material. Different types of fixings are required for solid and hollow walls, and they are usually color coded for ease of identification.
Solid Walls
Solid walls are typically made of brick, concrete, or stone. When drilling into these materials, you’ll need a bullet-shaped fixing. This type of fixing expands as the screw is tightened, providing a secure grip on the fabric.
Hollow Walls
Hollow walls, such as stud walls, are made from a wooden, metal, or brick frame with plasterboard panels. A fixing with wings, also known as a plasterboard plug, is required for these types of fences. These fixings expand behind the plasterboard, creating a secure anchor.
When unsure of what size of the hole, fixing, or screw to use for a particular task, opting for a larger size is generally safer.
In conclusion, mastering the art of drilling and fixing is an essential part of any DIY toolkit
Conclusion
In conclusion, wall drilling is a highly sophisticated technique that has become indispensable to any industry. It has not only allowed for increased efficiency but also reduced the environmental impact of these operations. With advancements in drilling technology, the future promises even more impressive feats in the art of drilling. With a responsible approach, the potential benefits of this technology to economies and societies worldwide are immense.