
Last Updated on May 15, 2023 by Pro Handyman Editorial Team
Master the Art of Ceiling Fan Installation: A Detailed Guide
You’re gazing at an outdated ceiling fan hanging from your living room, kitchen, or porch ceiling. Unfortunately, the fan that once spun vibrantly now collects dust, serving as an eyesore rather than an asset. That’s when you realize it’s time for a change. Fear not; we’re here to guide you through replacing your old ceiling fan, ensuring a seamless transition to a modern, functional fixture that will breathe new life into your space.
Understanding the Basics of Ceiling Fan Replacement
Before we delve into the specifics, it’s essential to understand some fundamentals. Replacing an existing ceiling fan is a comparatively straightforward task since the housing and mount are already in place. However, if you’re installing a ceiling fan where there’s currently just a light fixture, it may be slightly more complex, and consulting a professional could be beneficial.
When choosing your new fan, the aesthetic and the diameter suited to your room’s dimensions are vital. The fan blade tips should maintain a minimum of 30 inches from the walls and other potential obstructions. In addition, the blade bottoms should be at least seven feet above the floor. Once you’ve chosen your fan, review the instructions for additional requirements concerning blade clearance or ceiling height.
Your Comprehensive Guide to Ceiling Fan Installation
Gather Essential Tools
Every successful project begins with the right tools. For ceiling fan replacement, ensure you have screwdrivers, a voltage tester, wire cutters, and wire caps. A sturdy ladder with a wide top or a shelf for holding screws and tools will make the process more manageable.
Seek a Helping Hand
Though the prospect of a solo DIY project may seem appealing, having an assistant will make the job safer and more efficient. They can help hold the new ceiling fan in place while you secure it and assist with retrieving any dropped screws.
Employ a Three-Step Power Off Method
For safety, ensure the power is off at the breaker with the fan and light in the “on” position. If the fan has a wall switch, toggle it off and on again to confirm the power is off. Use a voltage tester to double-check.
Scrutinize the Instructions
While tempting to rely on experience, remember that ceiling fans vary in design and assembly. Especially for download fans, which may include support cables, thoroughly understanding the instructions is crucial to a smooth installation.
Careful Removal
After removing the old fan, check that the electrical box is firmly attached to the ceiling joist. If the removed fan is still functional but not to your taste, consider donating or passing it on.
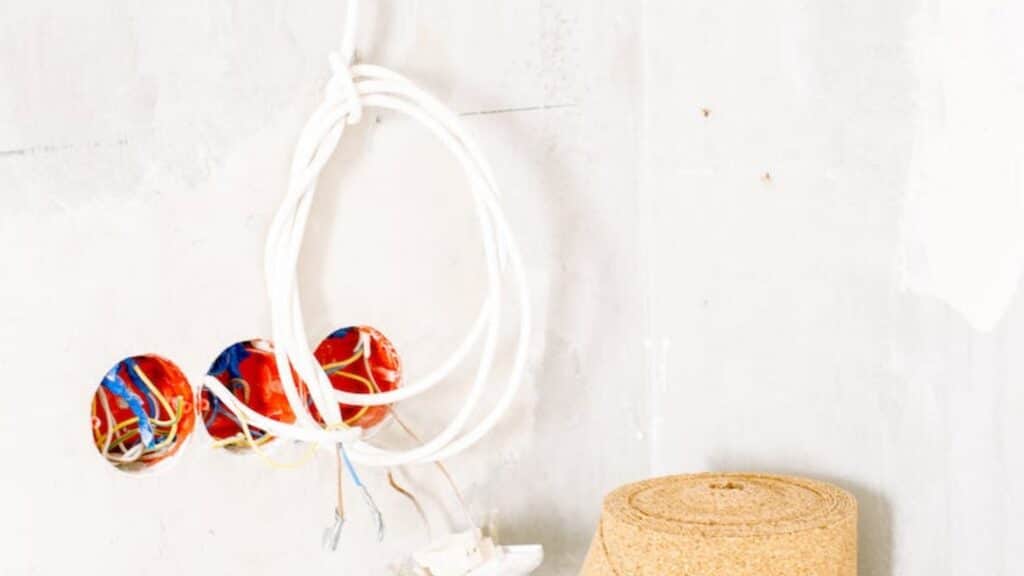
Identify the Wiring
If your existing wiring includes dual-switch wiring, label the fan wires to know which ones should connect to the new fan and light. If you’ve chosen a new fan without a light, trim the bare portions of the light wires, attach wire connectors, and wrap it with electrical tape.
Set the Direction
Many modern fans feature reversible blades for easy fixture updates. Ensure all edges are facing the same way during installation.
Verify the Wiring
Before connecting the motor assembly, double-check that all electrical wires are securely fastened with wire caps. This precaution will prevent wires from becoming potential fire hazards.
Balance the Fan
To ensure your ceiling fan operates without any wobbles, tighten all screws that secure the blades to the blade brackets, the brackets to the fan motor, and the mounting bracket to the electrical box. Consistent tightening across all screws will result in a balanced fan. Remember to recheck that the electrical box is securely fastened to the ceiling joist or hanger bar.
In the case that your fan still wobbles, you may need to invest in a balancing kit. These kits are designed to correct minor imbalances, preventing annoying wobble.
Ensuring Your Ceiling Fan’s Perfect Balance and Performance
Ceiling fans are a fundamental feature of many homes, offering aesthetic appeal and functional value. However, a wobbling ceiling fan can be more than just a mild irritation; it can indicate potential hazards. We provide a comprehensive guide to address this issue effectively, ensuring your ceiling fan works smoothly and safely.
Identifying the Cause of the Wobble: The Essential First Step
Before we delve into the solutions, let’s focus on the issue’s root. A wobbling ceiling fan often results from many factors beyond mere imbalances. While a slight wobble is standard, anything beyond a 1/8 inch deviation on the high setting calls for immediate attention.
Inspecting the Mount: The Key to Safe Installation
The primary step to remediate a wobbly ceiling fan is to assess the mounting. Then, a securely installed fan will be affixed to a fan-rated electrical box.
Installing a Fan Brace: The Ultimate Solution for Incorrect Box Type
If the fan isn’t attached to a fan brace or the brace cannot be tightened, or if the box type is incorrect, installing an adjustable fan brace should be your next move. Sadly, many fans are installed on boxes intended for light fixtures, which need to be equipped to bear the weight of a fan.
You may need to visit the attic to ascertain the fan’s mounting. First, however, start by loosening the bracket housing and inspecting it from below. A fan-rated box is generally labeled as such, and typically, you will notice hexagonal heads of lag bolts attaching it to a wooden brace or U-bolts attaching it to a metal brace.
Ensuring Bracket Sturdiness: The Pillar of a Stable Fan
Test the sturdiness of the fan support bracket. If it moves quickly, tighten it. If the box type is wrong or can’t be compressed, install an adjustable fan brace, available at home centers.
Examining Fan Blades and Blade Irons: The Heart of Smooth Operation
The next step in your journey to a wobble-free ceiling fan is a thorough examination of the blades and blade irons.
Checking for Height Variance: The Pathway to Balance
Check for height variance in the blades and blade irons using a storyboard. Hold the storyboard in one spot, bring each edge end to it, and mark each location. The variance should be less than 1/4 inch.
Verifying the Fan Support Bracket: The Foundation of Stable Performance
Ensure that the fan support bracket’s tooth rests in the slot on the ball joint. Check the tightness of all bolts and screws, particularly where the fan blades attach to the blade iron and where the blade irons mount to the motor spindle.
Balancing the Blades: The Final Step in Restoring Stability
If the above steps haven’t resolved the wobble, it’s time to balance the blades. Balancing kits are available at lighting stores, but common household coins can also serve the purpose.
Start by attaching a dime to the middle of a single blade using tape, and then switch on the fan to its highest setting. Repeat this process for each edge until you locate the one where the wobble starts to lessen. Then, adjust the coin’s position along
Conclusion:
These steps will enable you to undertake a ceiling fan installation project. The reward is a beautiful, functional ceiling fan that adds to your home’s comfort and aesthetic appeal.
Should you encounter any issues or need further clarification during your installation, don’t hesitate to consult with an experienced electrician. Always remember safety and accuracy are paramount in such projects.
We recommend visiting pro-handy for your ceiling fan installation , accessories you may need, such as light bulbs, pull chains and knobs, or replacement fan blades. Their knowledgeable staff will be able to guide you to the right products that suit your needs.