Last Updated on May 29, 2023 by Pro Handyman Editorial Team
Introduction
Are you embarking on your journey with power tools? Undeniably, mastering a power drill is a quintessential first step. This article presents a comprehensive beginner’s guide on using a power drill, a device that commands a place in every handyperson’s toolbox. We break down its purpose, function, and operation, ensuring you’re well-equipped to embark on your DIY journey.
Understanding Power Drills: The Basics
A power drill, in its simplest form, is a tool that allows us to drill holes and fasten materials together with ease. Its versatility and ease of use make it a favored choice among DIY enthusiasts and professionals.
Power Drill Functions: More than Meets the Eye
Primarily, a power drill serves two significant functions: drilling and driving. Drilling involves creating holes in materials like wood, stone, or metal. This is accomplished by combining the drill with a suitable drill bit.
On the other hand, driving refers to embedding fasteners (such as screws) into materials. This is achieved using a driver bit that matches the screw. In effect, your power drill doubles as a potent electric screwdriver!
Demystifying Power Drill Components
Each part of the power drill plays a distinct role in its operation. Let’s dissect these components to understand their functionality.
Power Source
The power source at the base can be corded or cordless, with the latter being powered by a rechargeable battery. However, for convenience and versatility, a cordless drill comes highly recommended.
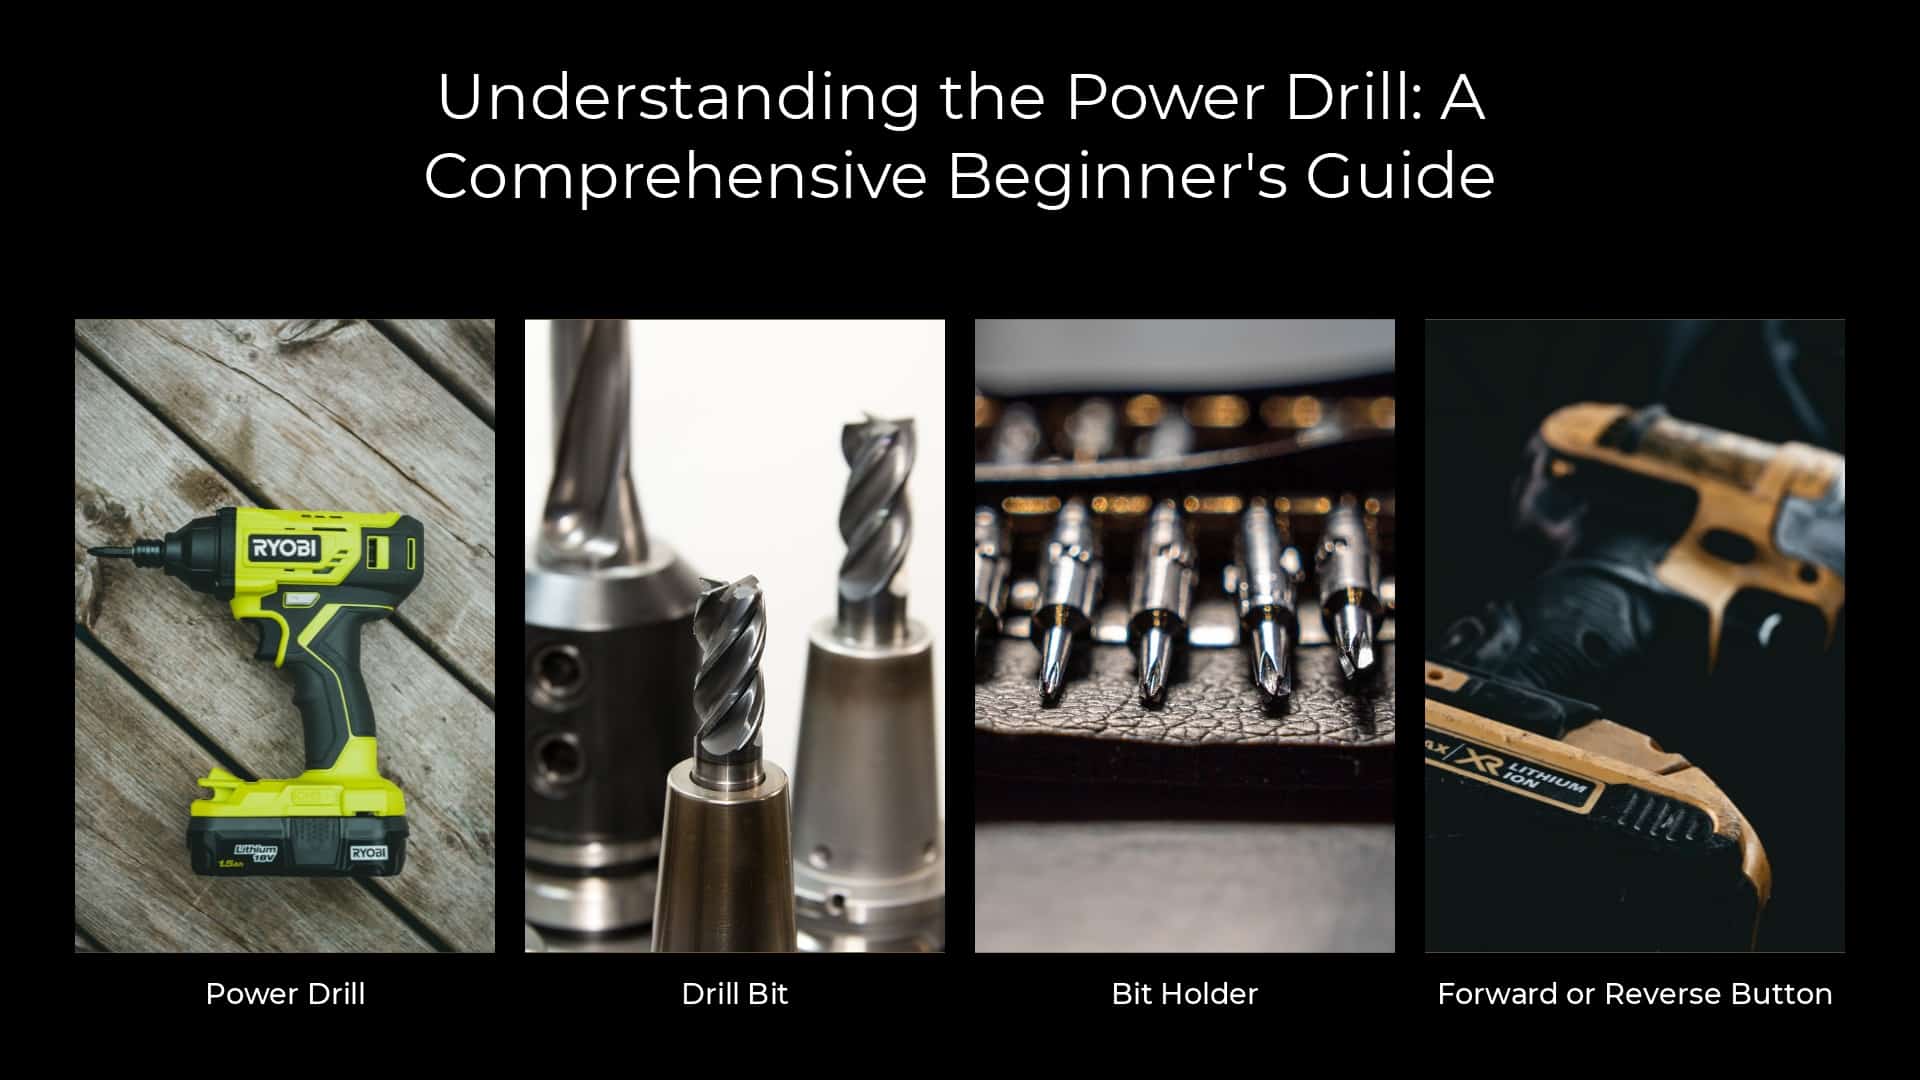
Bit Holder
The bit holder is a handy feature that securely holds your bit, which is especially useful when alternating between drilling and driving tasks.
Trigger
The trigger, when squeezed, sets the drill into motion. It often comes with variable speed control — the harder you squeeze, the faster the drill spins.
Forward or Reverse Button
This feature dictates the drill’s direction. Clockwise rotation is used for driving screws in, while counterclockwise rotation extracts screws.
Clutch
The clutch controls torque when driving a screw. The higher the clutch setting, the deeper the screw will penetrate the material. This control prevents overdriving and stripping the screws.
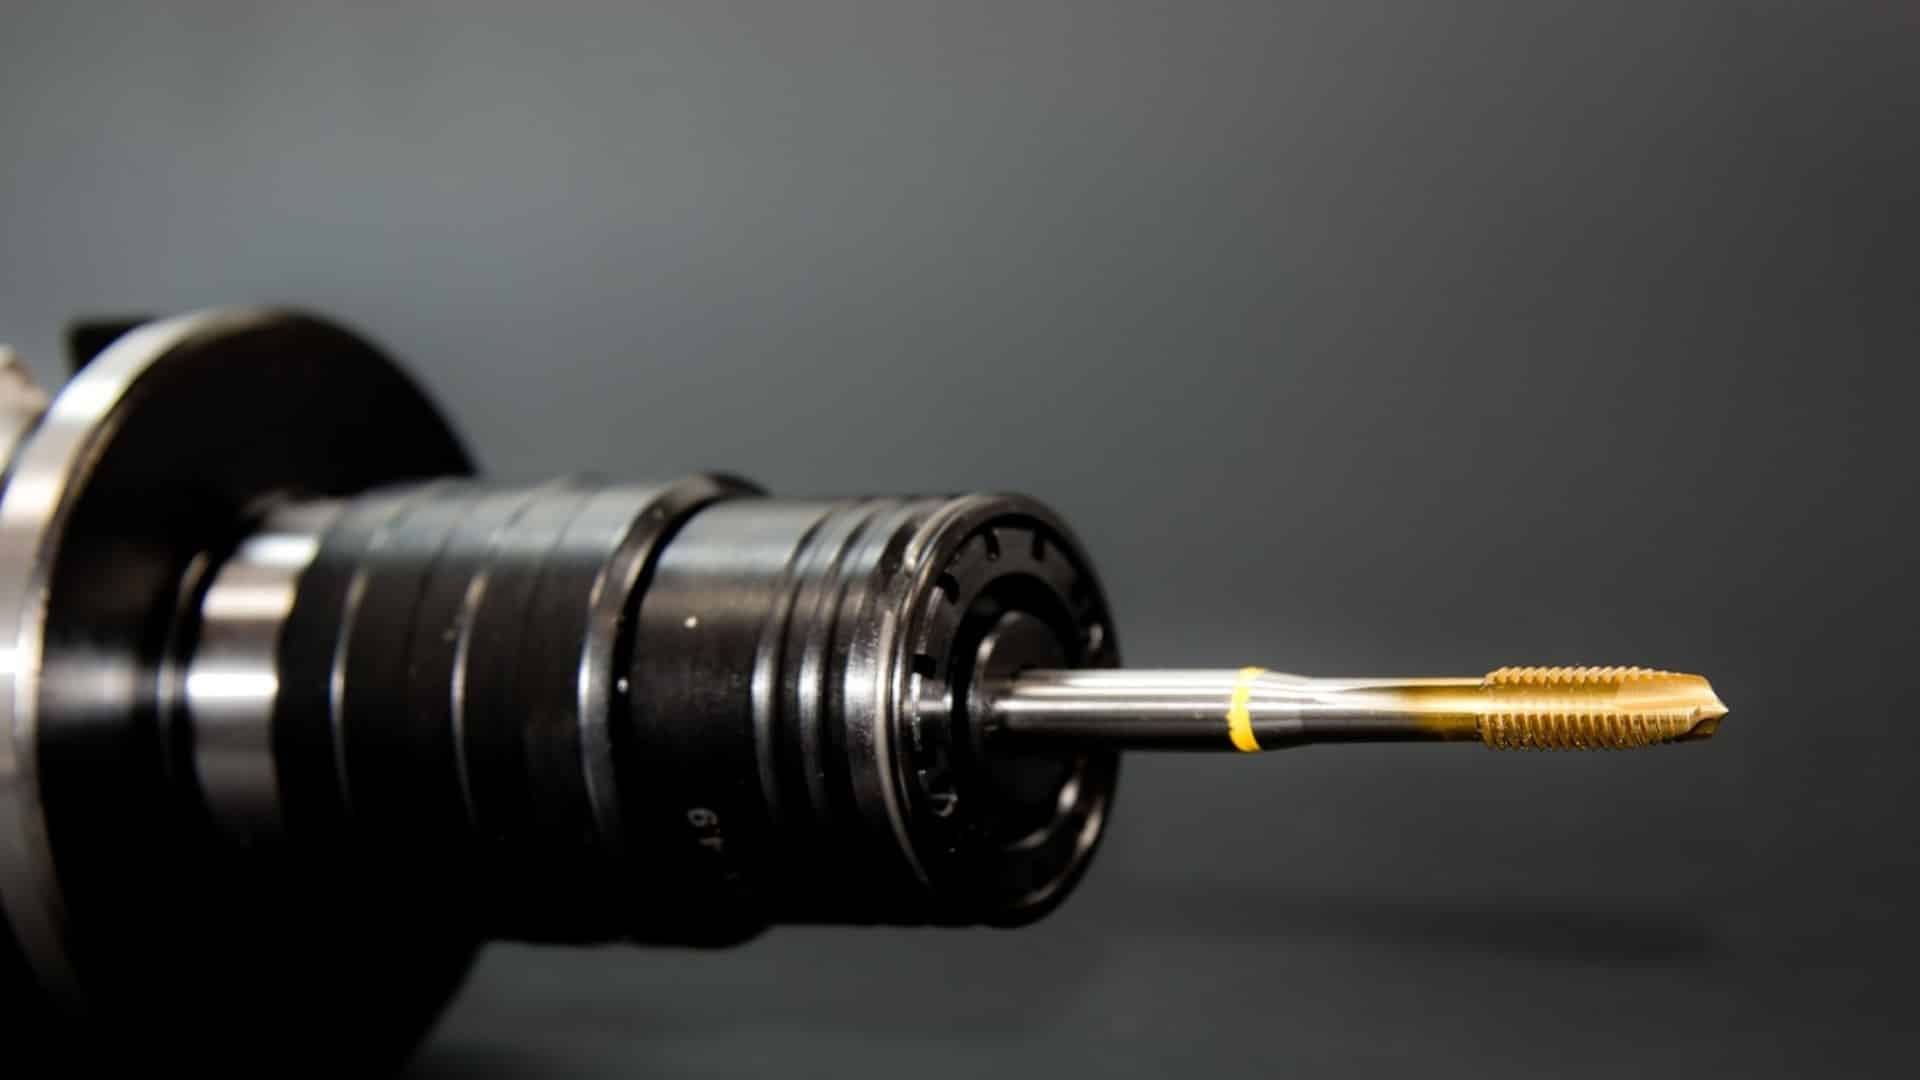
Chuck
The chuck, a crucial component, holds the bit in place. It can be tightened or loosened to accommodate various bit sizes.
Choosing the Right Power Drill
When selecting a power drill, voltage, indicating the drill’s power, is a crucial consideration. For most home DIY projects, an 18V drill provides ample power. However, lower voltage drills lack the necessary ability, while higher voltage drills may prove too forceful. Moreover, opt for a cordless drill for a more versatile, unrestricted drilling experience.
Procuring Your Power Drill
Once you clearly understand your requirements, you can purchase a power drill from a local hardware store or online. Do remember different stores carry different brands, so ensure your chosen store stocks the brand you’re looking for.
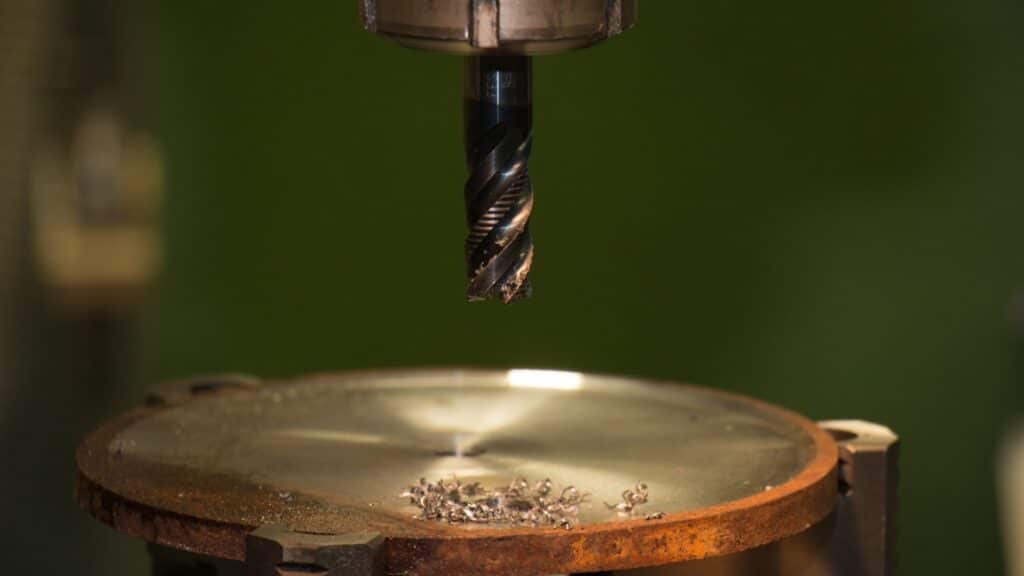
Selecting the Right Drill Bit
It would help if you first chose the appropriate drill bit to use a drill efficiently. The size and depth of the hole you intend to drill will dictate your choice. Here’s a rundown of the different types of drill bits:
- Screwdriver Bits: Ideal for driving screws, these bits are not designed for drilling holes.
- Twist Drill Bits: Widely used for drilling small, standard holes in various materials, including wood and metal. Start with a minor bit for larger holes and progressively widen the gap.
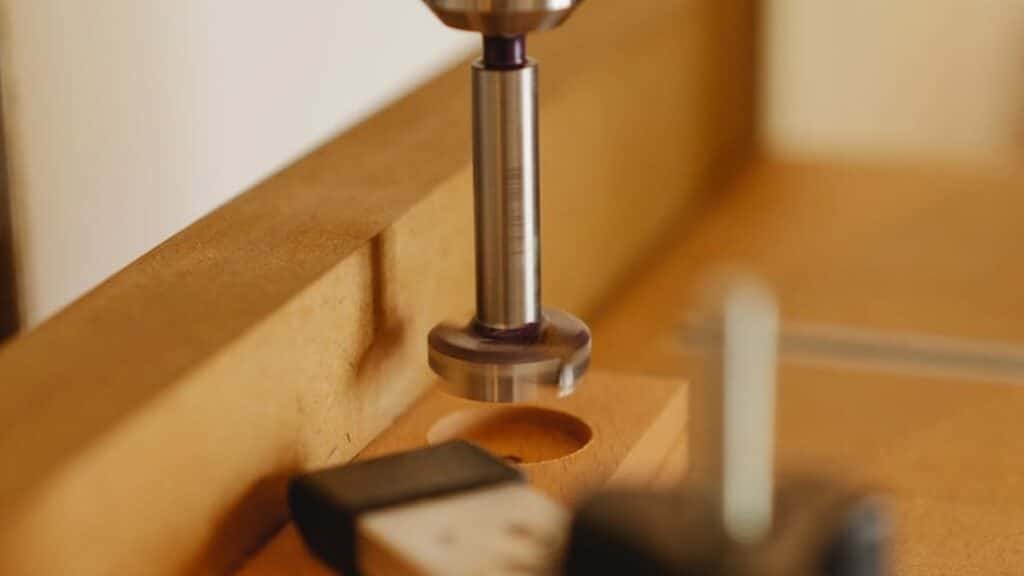
- Forstner Bits: Suitable for drilling large holes in wood. They offer the versatility to create partial or full-depth holes and can be used for angled drilling.
- Spade Bits: A good choice for large boring holes in wood, offering the option for both partial and full-depth spots.
- Hole Saw Bits: Capable of drilling larger holes than spade bits but cannot make partial cuts. Depending on the material, hole saw bits can be used on wood and metal.
To optimize your results, consider the task at hand. For instance, if you’re using screws, drill pilot holes to prevent wood splitting. The diameter of the drill bit for the pilot hole should match the diameter of your screw’s shaft, excluding the threads.
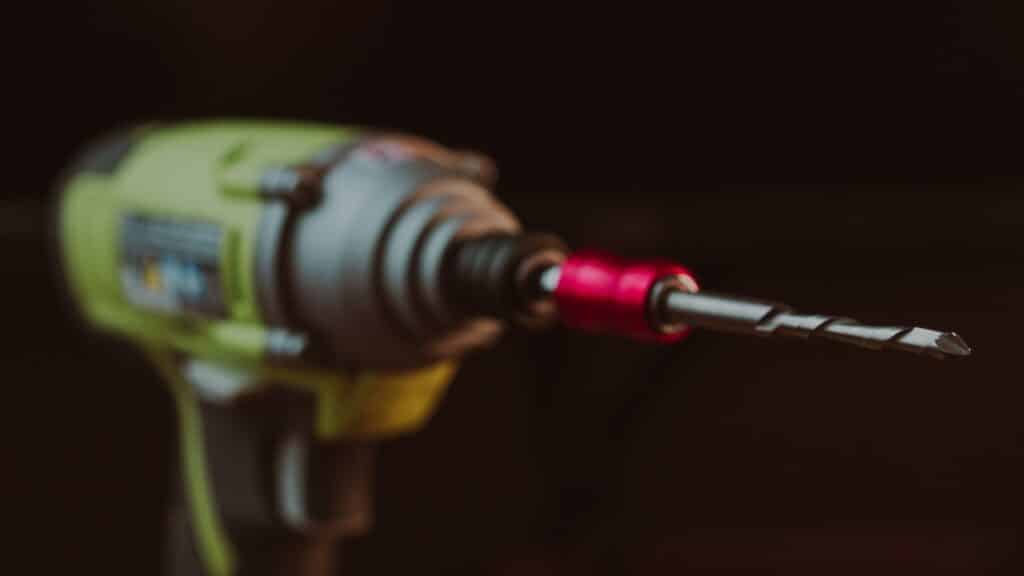
Installing the Drill Bit
Having selected the right drill bit, insert it into the drill chuck. Here’s how:
- Loosen the chuck by twisting it counterclockwise, expanding the jaws’ diameter.
- Insert the drill bit’s shank into the jaws.
- Retighten the chuck, ensuring the bit is centered and the jaws are clamped on the shank’s flat sides.
Avoid securing the jaws around the bit’s flutes to prevent potential damage. Instead, for efficient tightening, grasp the chuck and run the drill clockwise slowly. The same technique, but counterclockwise, will loosen the chuck.
Verifying Drill Settings
Before drilling, check the following:
- Battery Status: A fully charged battery ensures efficient drilling.
- Speed Settings: The drill’s speed settings, located on the drill’s top, should be set according to your task. Setting 1 (low speed, high torque) is perfect for driving screws while Setting 2 (high speed, low torque) is ideal for drilling holes.
- Drilling Direction: Ensure the drill is rotating in the correct direction. Clockwise rotation is for cutting or screwing into the material, while counterclockwise is for unscrewing or bit removal.
Note: The torque settings, indicated by the dial around the drill chuck, are essential when driving screws. Ensure the dial is turned to the drill bit symbol (or the highest number) when drilling.
Preparing Your Material
Secure the material to a stable surface using clamps or a vice, with a scrap piece of wood underneath to achieve a clean exit edge. Mark the precise spots for drilling using appropriate marking techniques.
Drilling Procedure
- Align the drill bit tip with the material, maintaining a good angle.
- Pull the drill trigger, beginning slowly. Once the bit cuts into the material, increase speed and apply constant pressure.
- After drilling through, keep the drill spinning in the same direction while pulling the bit out to clean the hole.
Evaluating Your Drilled Hole
Once your hole is drilled, inspect it thoroughly. The fastener should fit relatively quickly for a spot intended to accommodate a pin such as a bolt, screw, or rivet. If the fit is too tight, you have two options:
- Drill the hole again using a slightly larger bit.
- Use the existing bit and widen the gap slightly by twisting the drill vertically.
Wrapping Up Your Drilling Task
After all your holes are drilled, clean up your workspace:
- Carefully remove the drill bit and return it to its storage place.
- Store the drill safely and place the battery in a charging dock.
- Clean your work surface and the surrounding area, removing any chips or dust produced during the drilling process.
This workflow encapsulates the meticulous process of using a drill, with each step contributing to the safe and effective execution of your task. While this guide can significantly enhance your proficiency in handling an exercise, remember that hands-on experience, safety awareness, and adherence to instructions are paramount for successful and safe operations.
Conclusion
Mastering home drilling, though initially daunting, can be an exciting and rewarding endeavor. While this guide is a comprehensive starting point, remember practice is critical to becoming proficient. So, pick up that drill, and let your DIY journey begin.