
Last Updated on May 29, 2023 by Pro Handyman Editorial Team
Since our inception, our paramount objective has been to ensure your safety and peace of mind. As we strive to offer your abode an extra layer of security, we present this all-encompassing guide on setting up a Home CCTV system. This hands-on manual will guide you through every step, providing home security essentials while saving costs on professional installation.
Understanding Your Security Requirements and Selecting Your Equipment
Begin by defining your security needs. This informs the type of CCTV system you should choose, whether wired or wireless. While wireless systems provide the flexibility of setup, they are prone to hacking and interference from other wireless signals. They also have lower total bandwidth capacity. On the contrary, wired systems offer stable network signals and high-resolution cameras, but their installation might be more complex.
Positioning Your Cameras and DVR/NVR
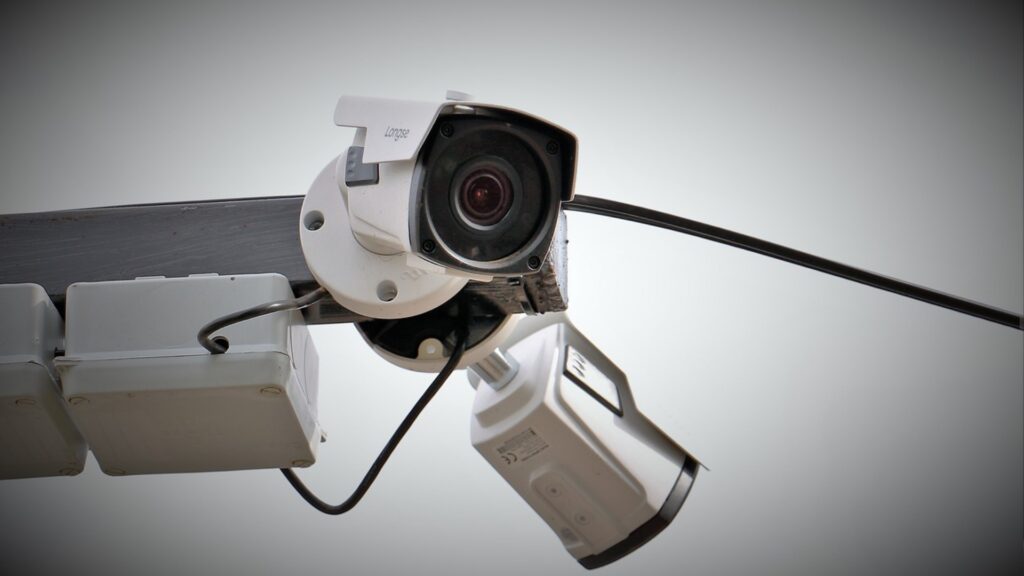
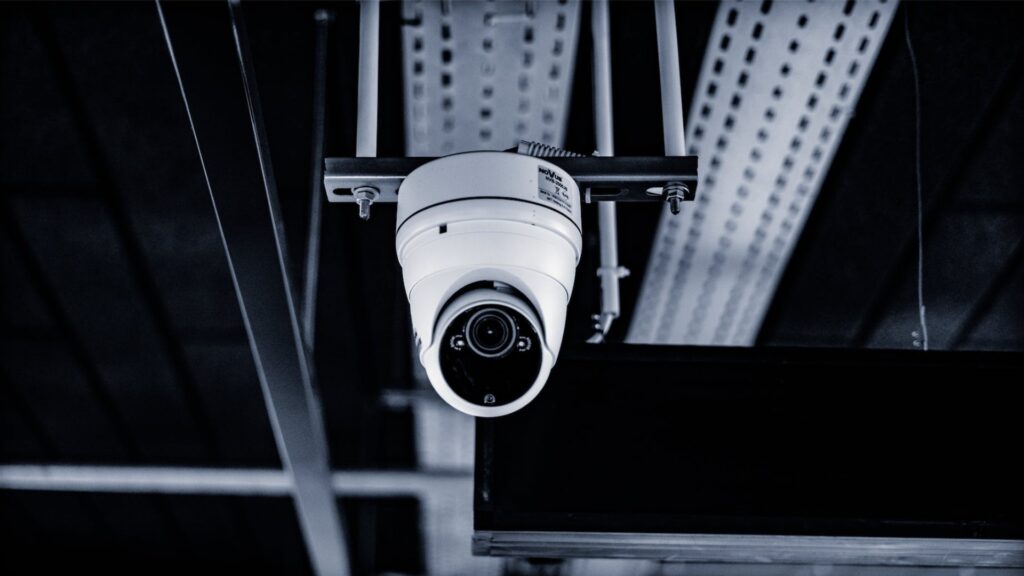
After selecting the system that suits your needs, the next step is to find ideal locations for your cameras and Digital Video Recorder (DVR) or Network Video Recorder (NVR). Camera placement should cover your home’s most significant entry points while minimizing cable length to reduce signal loss. Indoor cameras should ideally be installed in corners where most entrances are visible near a power socket. Outdoor cameras should be high to cover window approaches, doors, and garages.
Installing Cameras and DVR/NVR
Mounting your camera involves:
- Making marks for drilling at the identified location.
- Creating holes.
- Firmly screwing the camera in place.
After setting up the camera, plug its power cable into a socket. Your CCTV cameras’ recordings will be stored inside the DVR/NVR. Ensure this device is kept in a secure compartment to safeguard it from potential intruders.
Connecting Your Cables and Monitor
Plan the pathway of the cables from the cameras to the DVR/NVR. Secure the wires in moldings to keep them safe. For IP cameras, connect the Cat 6 cable to the camera, while an analog HD system requires connecting the camera to video and power cables. Then, click the DVR/NVR on the other end of the camera cable. Next, attach the DVR/NVR power and data wire to the hard disk, connect the DVR/NVR to a power socket, and turn it on. Next, connect your monitor to the DVR/NVR and switch it on. You should see a split screen with as many images as there are cameras.
Testing Your CCTV System
Finally, you must test your CCTV system to ensure it works correctly. Check all connections and power supplies if the monitor doesn’t display camera images. Use a video test monitor to check each camera and cable individually for persistent issues. If a camera doesn’t provide a photo or power up, it isn’t very accurate and will need replacing.
Mastering DIY Home Security Systems
In an era where security is a priority, home security systems are becoming indispensable to our households. Their value is unmatched; they provide an active deterrent to burglars, assist in monitoring pets, children, and elders, and give homeowners peace of mind. Of the available options, DIY home security systems are gaining popularity owing to their cost-effectiveness and adaptability. This comprehensive guide will navigate the nuances of DIY home security systems, easing your journey toward safeguarding your home.
Deciphering the Appeal of DIY Home Security Systems
The allure of DIY home security systems can be traced back to their inherent flexibility and affordability. In addition, adopting the DIY route allows you to customize the method according to your needs. Want to upgrade a component or add a new one? No problem – you have complete control over these modifications.
Moreover, since you’re the installer, you save the significant cost that would otherwise be spent on professional installation services. The normal constituents of a DIY home security system – wireless CCTV cameras and various sensors – are straightforward to install, saving you time and inconvenience. In addition, you enjoy the freedom to choose your professional or self-monitoring method.
Essentials of a DIY Security System
Before diving headfirst into your DIY home security system installation, let’s take a moment to understand its integral components:
Control Panel
As the heart of your home security system, the control panel connects to all the sensors and components. In addition, it houses the keypad that arms or disarms the plan as needed.
Motion Sensors
Installed inside and outside your home, motion sensors detect movement and alert the system when activated.
Contact Sensors
Ideal for placement on doors and windows, contact sensors alert you if anyone attempts to open these entry points, thereby mitigating burglary risks.
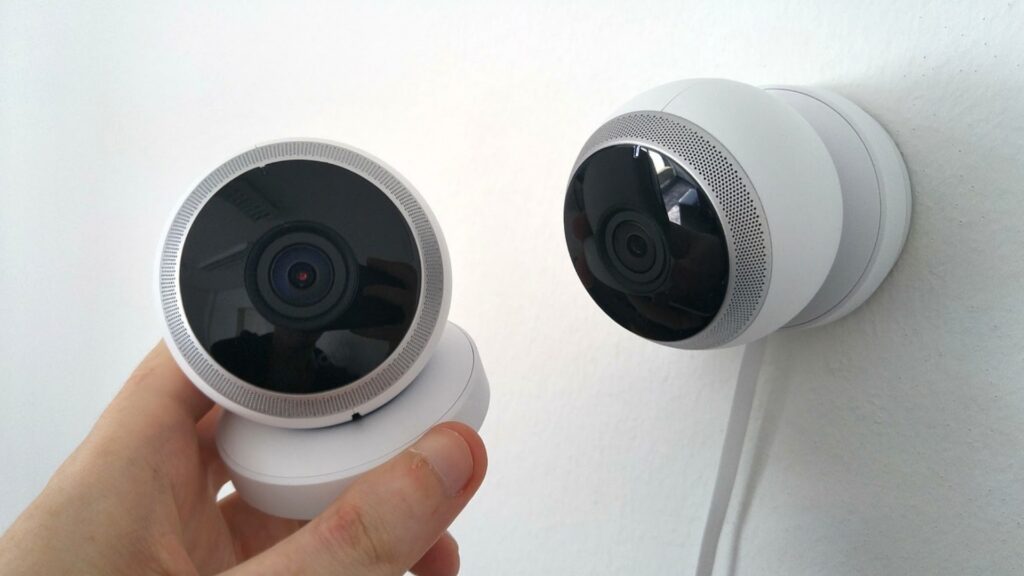
Security Cameras
High-quality security cameras facilitate continuous monitoring of your home’s interior and exterior. Equipped with CCTV cameras, you can remotely monitor your property anytime, anywhere.
Smoke Sensors
These sensors alarm when smoke is detected, protecting your home from fire threats.
Flood Sensors
For residents in flood-prone areas, flood sensors are a must-have for your security system.
Glass-Break Sensors
These specialized sensors detect when a glass door or window is broken and trigger an alarm.
Smartphone Apps
Such applications allow you to remotely oversee and control your security system, offering unmatched convenience.
Considerations for Installing a Home Security System
Installing a home security system is critical for your household’s safety, necessitating careful planning and consideration. Here are some guidelines to help you successfully execute the installation:
- Control panel placement should be strategic – easily reachable yet concealed from potential intruders.
- Accurately determine the number of contact sensors you require, and ensure that all doors and windows you want to be secured have sensors installed.
- Pinpoint optimal locations for installing your security cameras, providing they cover all desired monitoring areas. Wireless cameras are recommended for their resilience to tampering and easy installation.
- Install ample exterior lighting to augment the CCTV cameras’ visibility of potential intruders.
- Pay attention to safety components like smoke detectors and flood sensors. They are integral to the overall safety of your household.
In Conclusion
Installing a DIY home security system is a robust measure to protect your home and loved ones. This comprehensive guide will simplify your selection and installation process, securing your peace of mind and safety. Remember; there are many Home CCTV Installation systems to choose from. If you find the process overwhelming or lack the time, don’t hesitate to contact us for free.