Last Updated on May 27, 2023 by Pro Handyman Editorial Team
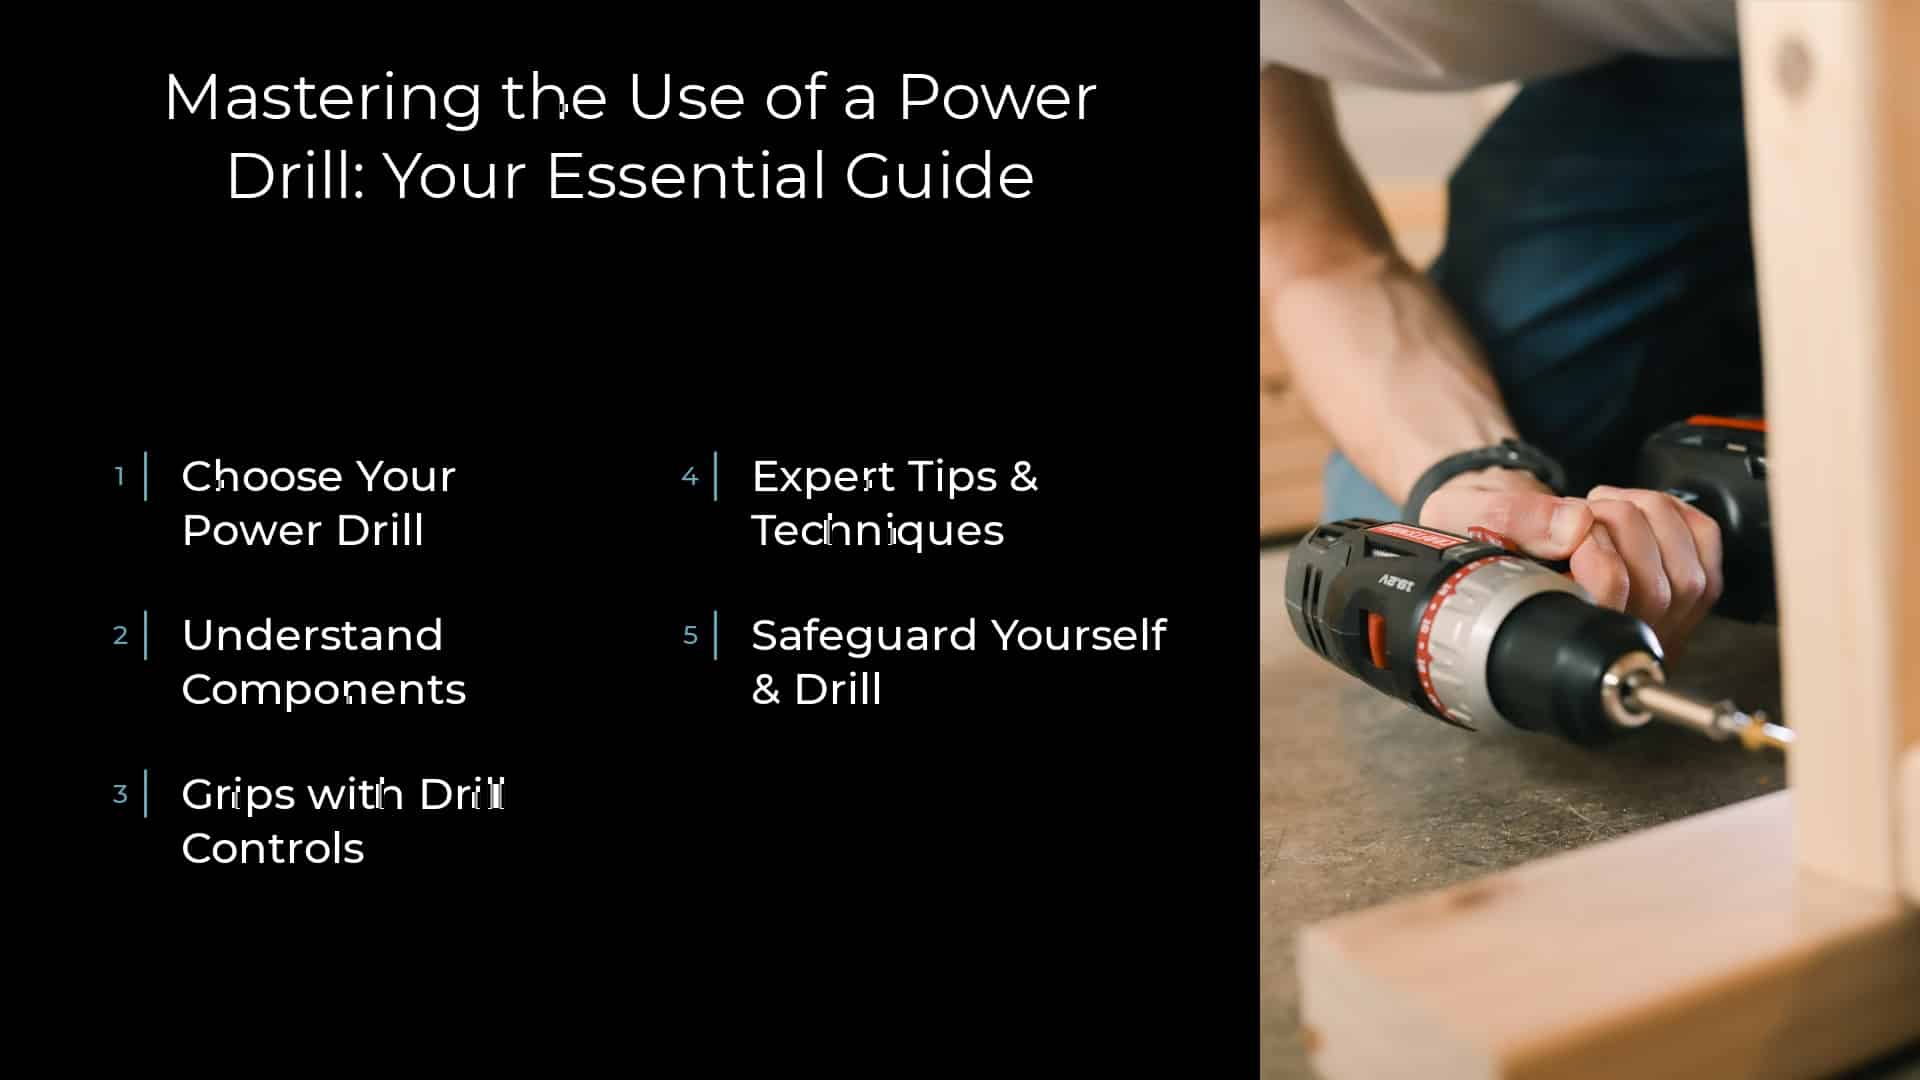
Power drills are essential for both the novice do-it-yourselfer and the seasoned professional. Understanding the mechanics and gaining hands-on experience can transform the most straightforward tasks into efficient projects. So let’s deep dive into effectively using a power drill.
Choosing Your Power Drill
For a first-time power drill user, opt for a cordless model. Unlike corded ones, cordless drills offer the freedom to work anywhere without the constraint of an extension cord. In addition, most modern cordless drills deliver similar performance to their corded counterparts, and the added mobility far outweighs the minimal power advantage of plug-in exercises.
Consider keeping an extra battery pack ready for those longer projects. Our recommendation for a reliable cordless drill is the DEWALT 20V MAX Cordless Drill/Driver Kit, known for its durability and user-friendly design.
Understanding Your Drill Components
Your drill set should typically include a rechargeable battery, a plug-in charger, and the drill itself. For a beginner, a kit with various essential drill bits (for making holes) and driver bits (for fastening screws) should suffice for most household tasks.
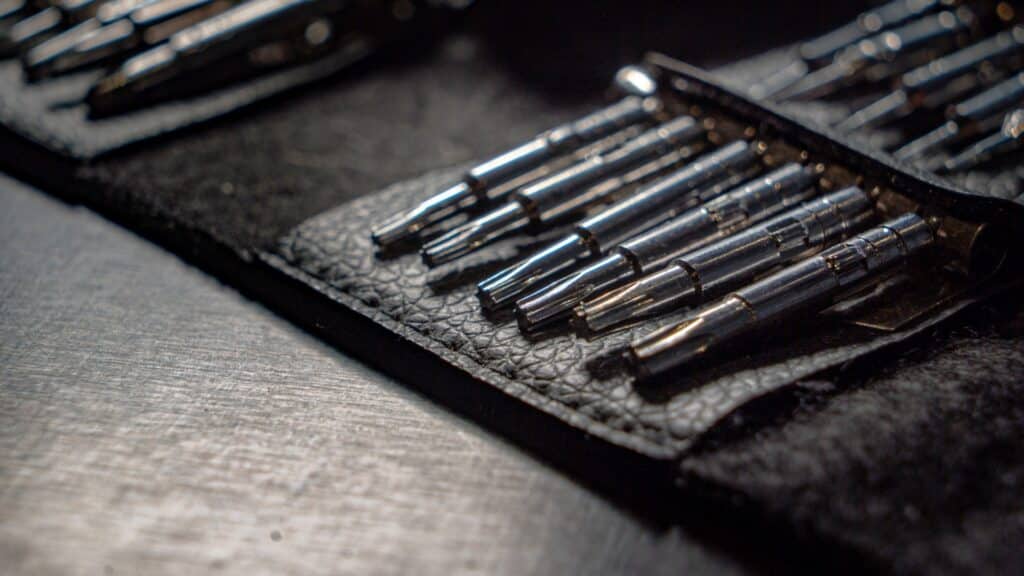
Essential Drill Bits
Drill bits come in various shapes and sizes for different tasks. Here are the essential types:
- Drill bit: Ideal for drilling holes in wood, drywall, plaster, etc.
- Driver bit: Designed for driving screws into hard materials.
- Drive guide: A tube-shaped attachment for holding long screws straight while driving.
- Insert bit: Used for attaching driver bits.
A comprehensive set, like the DeWalt 68-piece Combination Impact Screwdriver Bit and Drill Set, can cater to various drilling and driving needs.
Getting to Grips with Drill Controls
Understanding the functionality of your power drill is key to efficient and safe operation. Here’s a rundown of the crucial components:
- Chuck: This holds the drill bit. Press the trigger switch while holding the hand grip to open or close the chuck.
- Trigger switch: The power button of your drill; hold it down to start.
- Torque control: This adjusts the drilling power. It usually includes a setting for drilling holes specifically.
- Gear switch: It changes drill speed. A lower gear is used for driving small screws, and a higher equipment for drilling holes or driving large screws.
- Reverse switch: Changes the direction of drilling (clockwise or counter-clockwise). When in the middle position (or safety), the drill will not turn.
- Battery: Powers the drill.
Expert Tips & Techniques
Knowing the proper techniques can significantly enhance your grilling experience and prolong the life of your drill. Here are some essential tips to remember:
- Refer to the anchor’s package for choosing the appropriate drill bit size for an anchor. It generally suggests a corresponding drill bit size.
- When driving a screw into an anchor, proceed slowly using a low to middle setting to prevent the anchor from splitting.
- If you’re fastening something into the wood, pre-drill a smaller hole to facilitate the screw insertion.
- When installing a hook or other items on a wall, hold it against the surface and lightly mark the drill points with your drill before making a guide hole or inserting an anchor.
Remember, practicing these techniques will ensure efficient power drill use and result in neater, more professional outcomes.
Safeguarding Your Drill and Yourself
Safety should be a paramount consideration when operating power tools. Always ensure the reverse switch is in the middle or safety position when the drill is not in use, preventing it from accidentally starting. In addition, wear appropriate personal protective equipment, including safety goggles, to guard against flying debris.
Maintaining your power drill will prolong its lifespan and ensure it remains a reliable tool. After each use, clean the drill and bits to remove any residual debris. Store your power drill and its components in a dry, secure place to prevent damage.

Prelude: Acquainting Yourself with the Drill
Handheld drills, cordless or not, are essential and omnipresent tools within any serious workshop. Acquiring the skills to operate a drill effectively is fundamental for any design, creation, or repair endeavor.
Step 1: Choosing the Correct Drill Bit
The initial step in employing a drill involves determining the most appropriate drill bit for your task. Many factors will influence this decision, such as the material you are working with, the size and depth of the hole required, and whether you are drilling or driving screws.
Selecting Based on Hole Specifications
If you’re creating pilot holes for screws, it’s essential to match the diameter of your drill bit to the size of the screw minus the threads, thereby preventing the splitting of the material.
Selecting for Tapping Applications
When threading a hole to accommodate a bolt, you must adhere to the prescribed pilot hole sizes for the respective bolt diameter. Utilize a standard-size chart for guidance.
Selecting Drill Bit Type
A diverse array of drill bits cater to different needs. Here’s a breakdown of the most common ones:
- Screwdriver bits: Ideal for driving screws, not for drilling holes.
- Twist drill bits: Perfect for drilling small to medium-sized holes in various materials. Always start small and incrementally increase the size for larger holes.
- Forstner bits: Designed to create large, precise holes in wooden materials.
- Spade bits: This tool can bore large holes in wood more efficiently than a twist drill bit.
- Hole saw bits: Reserved for larger holes; this bit type cannot make partial cuts.
Step 2: Attaching the Drill Bit to the Drill
Once you have determined the ideal drill bit, you must securely affix it to it. Here’s how to do it:
- Loosen the chuck, the black cylindrical part at the front of the drill, by rotating it counter-clockwise. This action expands the diameter of the jaws that grip the drill bit.
- Position the shank, the smooth part of the drill bit, into the jaws.
- Retighten the chuck, ensuring the drill bit is centered and the jaws tightly grip the shank’s flat sides.
- Avoid clamping the jaws around the bit’s flutes, as this might lead to bit breakage, particularly with smaller drill bits.
Step 3: Verifying Drill Settings and Preparations
Before commencing your drilling operation, verify the readiness of your tool and its settings:
- Check that a sufficiently charged battery powers the drill.
- Validate the speed settings. The low speed (Setting 1) offers higher torque, which is ideal for driving screws. The high speed (Setting 2) is perfect for drilling holes.
- Confirm the direction of drilling. When the drill bit is facing away from you, ensure the drill rotates clockwise for drilling holes or driving screws and counter-clockwise for removing screws or withdrawing the bit.
- The torque setting, adjustable via the dial around the drill’s chuck, should be set appropriately based on your drilling requirements.
Step 4: Preparing Your Material
Before starting the drilling process, prepare the material you’re working with:
- Secure your material to a stable surface using clamps or a vice.
- If you are drilling through the material, consider placing a scrap piece of wood beneath to ensure a clean exit hole and to avoid hitting your table or vice.
- Accurately mark your drilling points on the material.
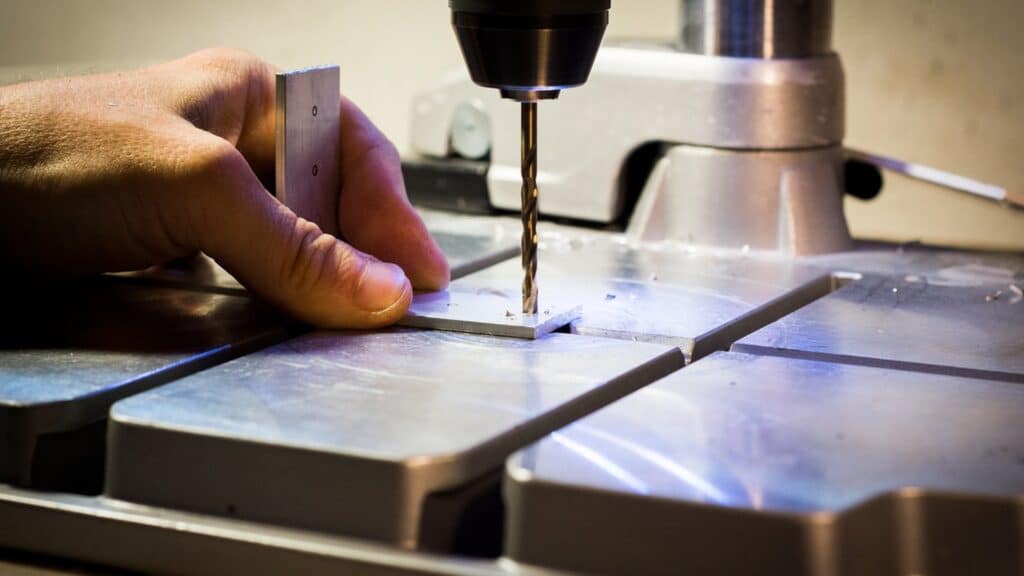
Step 5: Drilling Procedure
- Position the tip of the drill bit directly on the marked drilling point. The drill bit should be held at an angle perpendicular to the material for a straight hole.
- Initiate the drilling process by pulling the trigger lightly. Once the drill bit embeds slightly into the fabric, you can increase speed and apply steady pressure.
- After drilling through the material, continue running the drill in the same direction while retracting the drill bit. This helps in cleaning the hole.
Step 6: Inspecting the Drilled Hole
Following the drilling, it’s crucial to inspect the hole:
- If the spot is intended for a fastener like a screw or a bolt, ensure that the fastener fits comfortably into the hole.
- Consider revising the spot with a slightly larger drill bit if the hole’s size is slightly off. Alternatively, you can use the same drill bit and enlarge the hole by lightly rotating the drill in a circular motion while drilling.
Step 7: Cleanup Post Drilling
Once all holes are drilled:
- Detach the drill bit and return it to its proper storage.
- Place the drill back in its designated area and position the battery in the charging dock.
- Clean the work area of any dust or chips produced during drilling.
In Summary
Mastering the use of a power drill takes time and hands-on experience. This guide has equipped you with the essential knowledge to start your journey but remember that practice is vital. As you become more familiar with your power drill, you’ll become more efficient and confident in tackling various DIY projects.
Remember to choose the proper drilling services for your needs, understand its components and controls, practice the correct techniques, and prioritize safety and maintenance. Whether hanging a mirror or assembling furniture, the power drill will become an invaluable tool in your DIY arsenal.