Last Updated on May 13, 2023 by Pro Handyman Editorial Team
Comprehensive Guide to Troubleshooting Common Toilet Issues
Often, toilet issues can cause distress and urgency, prompting people to seek immediate help from plumbers. However, these concerns are usually straightforward and can be rectified at home. Understanding the fundamental components of your toilet system and how they work is the first step to resolving these issues.
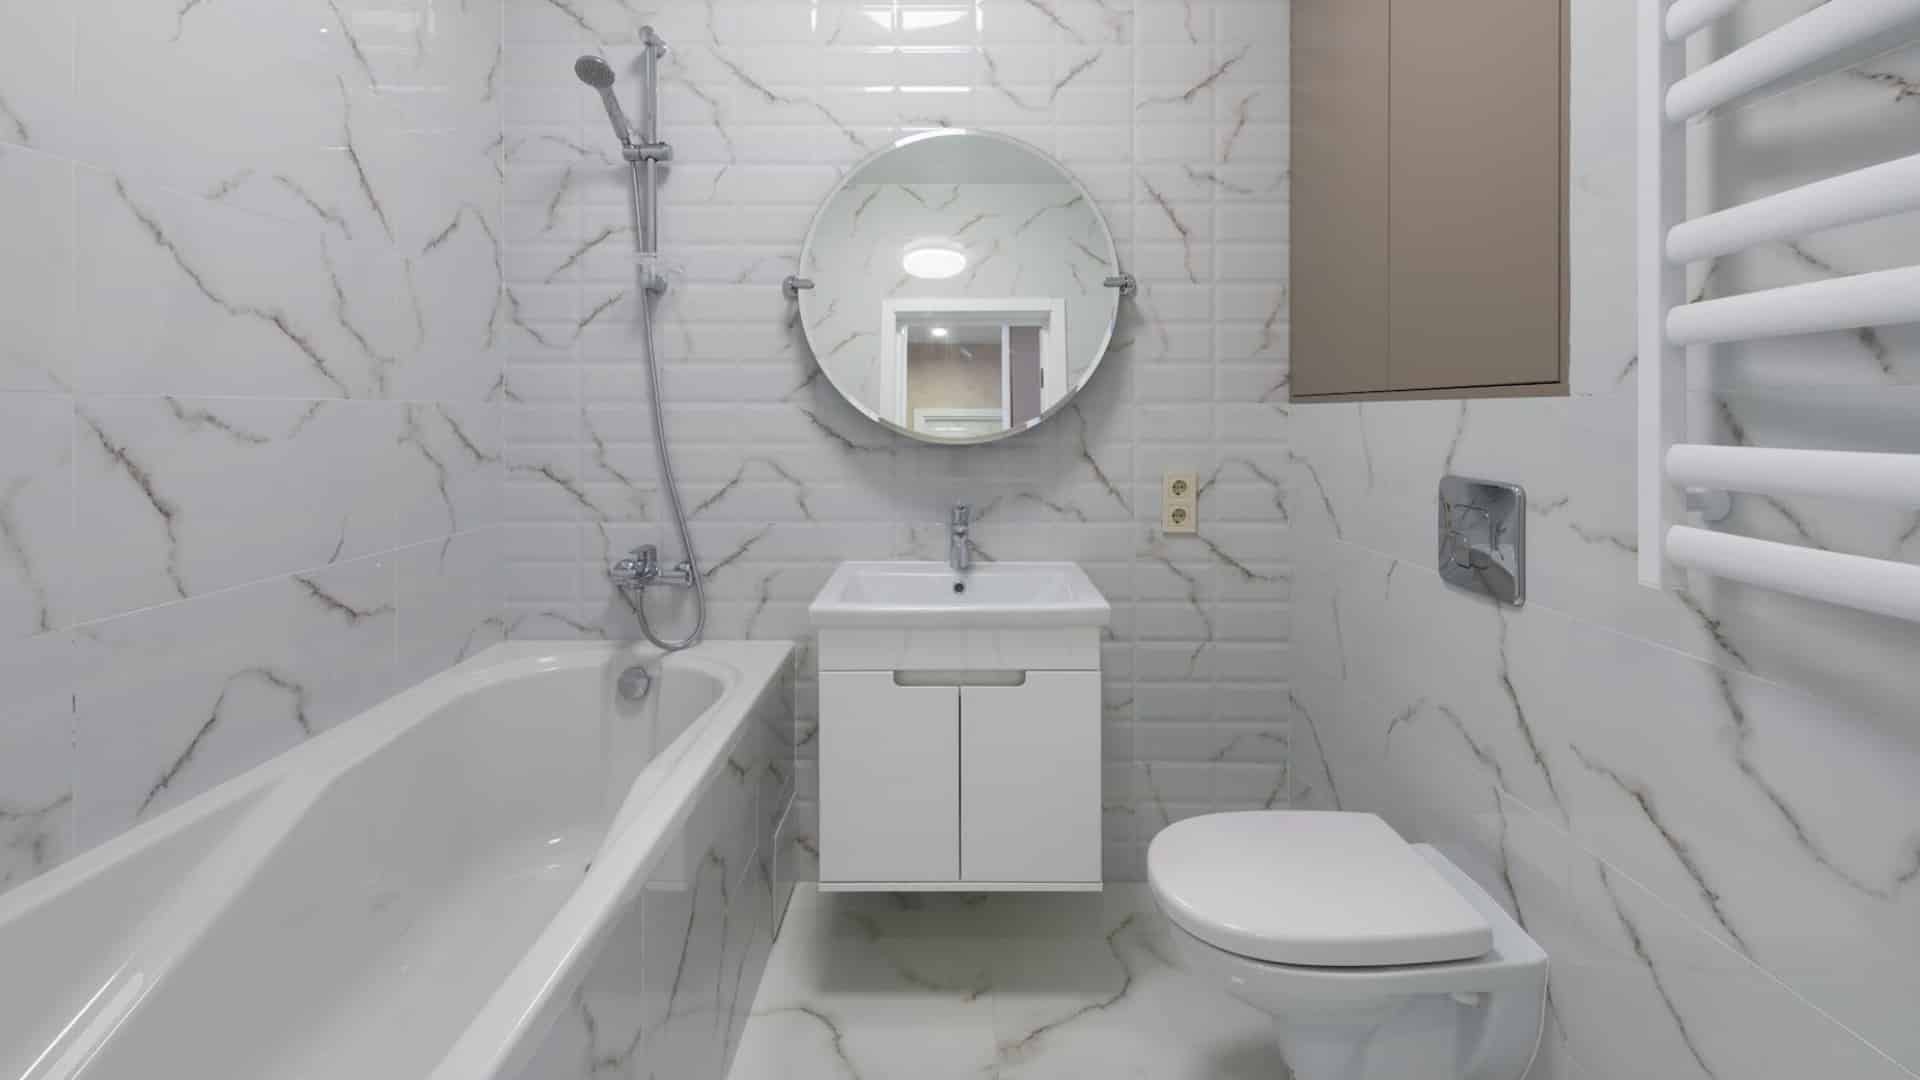
The Essential Components of Your Toilet
Your toilet comprises two primary sections: the bowling unit that rests on the floor and the upper tank that stores the water for each flush.
Understanding the Toilet Bowl
The toilet bowl is a simple porcelain fixture without any moving parts. As a result, repairs involving the bowl are relatively rare.
Getting to Know the Toilet Tank
The toilet tank is where most of the action happens. It houses two critical valves and the handle that triggers the flushing mechanism. Understanding these components will help you address most toilet problems with ease.
How the Toilet Tank Operates
The toilet tank’s primary function is to store water for flushing. When you flush the toilet, the water in the tank rushes down through an opening into the bowl, expelling waste into your home’s drain and sewer lines.
The two main components making this process possible are the flush and fill valves. Understanding these two elements is critical to address any issues with your toilet.

Understanding the Fill Valve
The fill valve, also known as the “ballcock” or “refill valve,” is the mechanism that refills the tank with water. Depending on its design, this valve is activated either by a floating ball or a float cup that moves along with the water level in the tank.
Types of Fill Valves
Fill valves come in four basic variations:
- Plunger-type ballcock: The oldest type, usually made of brass.
- Diaphragm-type ballcock: Older styles may be brass, but newer plastic types.
- Float cup fill valve: A more recent design, typically plastic.
- Floatless fill valve: Another more contemporary design, not allowed by some codes.
Regardless of the design, the fill valve opens the water supply valve when the water level in the tank falls during a flush and shuts off when the water level rises to a specific point in the tank.
Replacing a Ballcock
“ballcock” is often used to refer to any fill valve. Still, technically, it applies to the plunger type and the diaphragm type, both identified by the floating ball that operates the valve via a long arm attached to the ball.
These valves are susceptible to problems, and replacing them with a more modern float-cup style fill valve can prevent future issues. In addition, this replacement is an easy DIY project that requires minimal tools and time.
Repairing the Flush Valve
The second crucial component in the toilet tank is the flush valve. Located in the center of the tank, this plastic or brass fitting is attached to the tank’s bottom opening. It operates with a rubber or neoprene flapper or a float ball, which seals the valve opening and retains water in the tank until the flush handle is used.
When the handle is pressed, a chain or lift wire connected to the handle rod lifts the flapper away from the valve seat, allowing the water to flush out of the tank and into the toilet bowl. When the tank is empty, the flapper falls back down into the valve seat, sealing the opening and enabling the water refill cycle to commence.
The flush valve also incorporates a vertical overflow tube, which prevents water from overflowing the tank and permits a small amount of water to flow into the toilet bowl during the refill cycle. This helps maintain the water level in the toilet bowl, thereby keeping the trap sealed.
Addressing a Running Toilet
A persistently running Toilet Repair is a common and often frustrating issue. This problem typically arises due to one of two reasons:
- The flapper is not sitting correctly in the opening of the flush valve.
- The water level in the tank is too high, causing water to overflow into the top of the overflow tube.
Both these issues can be resolved with relative ease by adjusting the water level and replacing or adjusting the flapper valve.
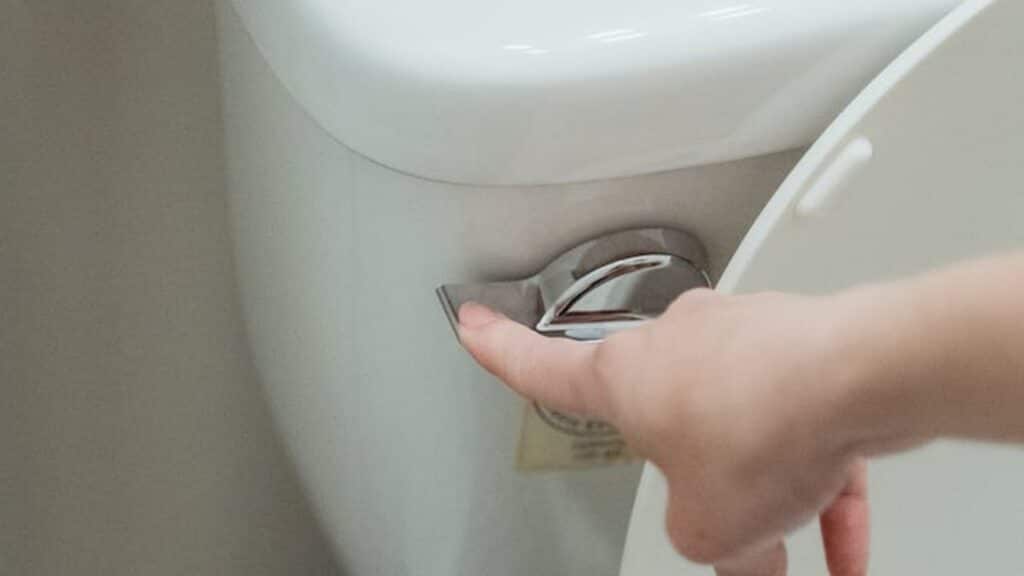
Fixing a Loose Flush Handle
A loose or disconnected flush handle is another simple problem that can be resolved by performing one of the following steps:
- Reconnect the lift wire or chain that links the lift arm to the flapper.
- Adjust the handle mounting nut within the tank. This nut has reverse threads and requires counterclockwise rotation to tighten.
Resolving Leaks at the Toilet Base
While most toilet problems originate in the tank, leaks can occur around the base of the toilet bowl. This is often indicated by a puddle of water on the floor around the bottom of your toilet.
In such a situation, avoiding using the toilet until the issue is resolved is best to prevent exacerbating the problem. This issue is typically caused by a faulty wax ring that seals the toilet’s base to the drain opening set into the floor.
To replace the wax ring, you’ll need to remove the toilet, which, while sounding like a significant task, is not particularly difficult. Moreover, by doing this yourself, you can save considerable money that would otherwise be spent on a plumber.
Unclogging a Toilet
A clogged toilet is the most common toilet problem encountered by homeowners. However, there’s no need to call a plumber in most cases.
A specialized toilet plunger with an internal cup or flange can handle most clogs. However, a unique drain snake tool may be required for more stubborn blockages, known as a closet auger or toilet auger.
In conclusion, understanding your toilet’s essential components and workings can empower you to tackle the most common toilet problems. With this knowledge, you can save time and money and avoid the hassle of calling a professional for minor issues.
Repairing a Noisy Toilet
A noisy toilet can be a significant source of irritation, but it’s usually a simple issue to resolve. The noise often comes from vibrations in the float arm of the ballcock assembly, but it can also be due to a fill valve that needs replacement.
To resolve this issue, identify the noise source and replace the faulty part or make the necessary adjustments. If the noise persists, it might be best to consult a professional to prevent further damage.
Fixing a Slow-Filling Toilet
If your toilet tank is filling up slowly, it could be due to a blockage or kink in the water supply line or a problem with the fill valve. You can troubleshoot this issue by checking the water supply valve to ensure it’s fully open.
If the valve is open and the toilet is still filling up slowly, you might need to replace the fill valve. This relatively simple task requires minimal tools and can be completed within an hour.
Dealing with a Weak Flush
A weak or incomplete flush often indicates an issue with the water level in the tank. Conversely, the toilet may only flush appropriately if the water level is raised.
To adjust the water level, bend the float arm upwards (for a ball float fill valve) or change the float adjustment screw (for a float cup fill valve). This will allow more water into the tank, resulting in a stronger flush.
Replacing a Toilet Seat
Replacing a worn-out toilet seat is a straightforward DIY task. You only need a new toilet seat, a screwdriver, and possibly a wrench. First, remove the old seat by unscrewing the nuts that hold it in place, then align the new seat and secure it with the provided nuts.
Always measure your current toilet seat before purchasing a new one to ensure a proper fit.
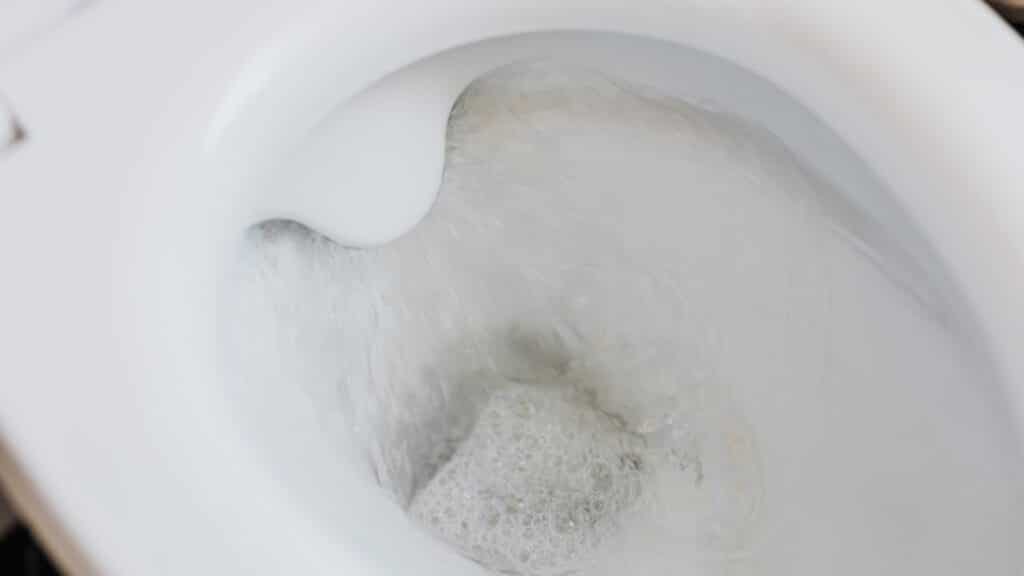
Toilet Bowl Overflowing
An overflowing toilet bowl can be addressed effectively with a simple toilet plunger. Insert the plunger into the water-filled bowl, ensuring the plunger’s mouth forms a seal with the opening at the bowl’s bottom. A rhythmic push-and-pull motion creates pressure in the drain, freeing the clog. It’s essential to avoid forceful plunging, which could result in dirty water splashing around.
Toilet Handle Fails to Flush
If the toilet handle offers no resistance and fails to initiate a flush, the connection or chain inside the tank may have come loose. In such cases, repairing the toilet handle involves reconnecting the chain to the lift arm. If the toilet chain is broken, it will need replacing, which is an affordable and quick fix.
Continuous Water Flow into the Bowl After Refilling
If water continues to flow into the bowl after the tank has been refilled, jiggling the handle can often rectify the issue. If this doesn’t solve the problem, the flapper is likely faulty and needs replacing. Over time, the rubber flapper can harden, preventing it from properly sealing the drain at the bottom of the tank, leading to a leaking toilet tank.
Water Pooling at the Base of the Toilet
If you notice water pooling at your toilet’s base, it’s likely due to a leaking wax ring seal. A simple test involving food coloring can help confirm this. If colored water runs out from around the base after flushing, the wax ring needs replacing. While this is a relatively straightforward DIY task, it does involve lifting the entire toilet, which can be heavy.
Incomplete Flush
If the toilet begins to flush but then stops, it could be due to a loose chain causing the flapper to close prematurely or the fill valve allowing insufficient water into the tank. Adjustments to these components can rectify the issue. For example, if the water level is more than ½ inch from the top of the overflow valve, adjust the fill valve to raise the water level, providing more water for each flush.
The Innards of a Toilet: A Closer Look
Despite being essential everyday appliances, toilets often need to be more appreciated for their straightforward and efficient design. They operate on simple principles of gravity and siphoning and involve only a few essential parts. Let’s take a closer look at these components:
- Tank: The tank stores water that is used for the flushing process. It’s a reservoir waiting to dispense water into the bowl when the toilet handle is pressed.
- Bowl: This is the visible part of the toilet where waste is deposited before being flushed out through the drainage system.
- Flapper: The flapper is a rubber seal between the tank and the bowl. When the toilet handle is pressed, the flapper lifts and injects water from the tank into the bowl, instigating the flush.
- Float: Found in the tank, the float is a device that rises with the water level and shuts off the water flow once the tank is full.
- Handle: This lever, attached to the tank’s exterior, is pressed to start flushing. It’s connected to the flapper inside the tank via a chain.
- Wax ring: This ring forms a seal between the toilet and the floor, preventing leaks from the bathroom base.
Dealing with an Overflowing Toilet Bowl
An overflowing toilet bowl is often the result of a blockage in the drainage system. This can be resolved using a simple tool you already have at home: a plunger or having it fix by pro-handy Toilet Repair.
Steps to Resolve an Overflowing Toilet Bowl
- Place the mouth of the plunger over the opening at the bottom of the bowl.
- Apply firm pressure to create a seal.
- Use a rhythmic push-and-pull motion to create suction in the drain and dislodge the blockage.
- After eight to ten pumps, remove the plunger. If the water starts to drain, the backup has been successfully cleared.
Conclusion
Understanding the basics of Toilet Repair is empowering for any homeowner. Many common toilet problems can be resolved with an essential toolkit and some know-how, saving you money and unnecessary visits from a plumber. With these tips and tricks, you’ll be well-equipped to handle various toilet issues, from running toilets to replacing worn seats.